Axles and tires
In this article, we will explain how to configure the axle and tire layout for a selected object.
First, add the axles, then install the tires on them. After configuration, the system will be able to display the number of axles and tires, their positions, mileage, and pressure and temperature readings if sensors are connected to the tires.
How to add an axle
An axle can be added in two ways: through the axle and tire layout or through the object menu.
To add an axle through the layout:
1. Select an object from the list (click it)

2. Go to the axle and tire layout
3. Click Add axle on the layout

4. In the window, enter:
• Axle name — for example, front axle or rear axle
• Position number — the axle order on the layout

5. Click Save — the new axle will appear in the layout
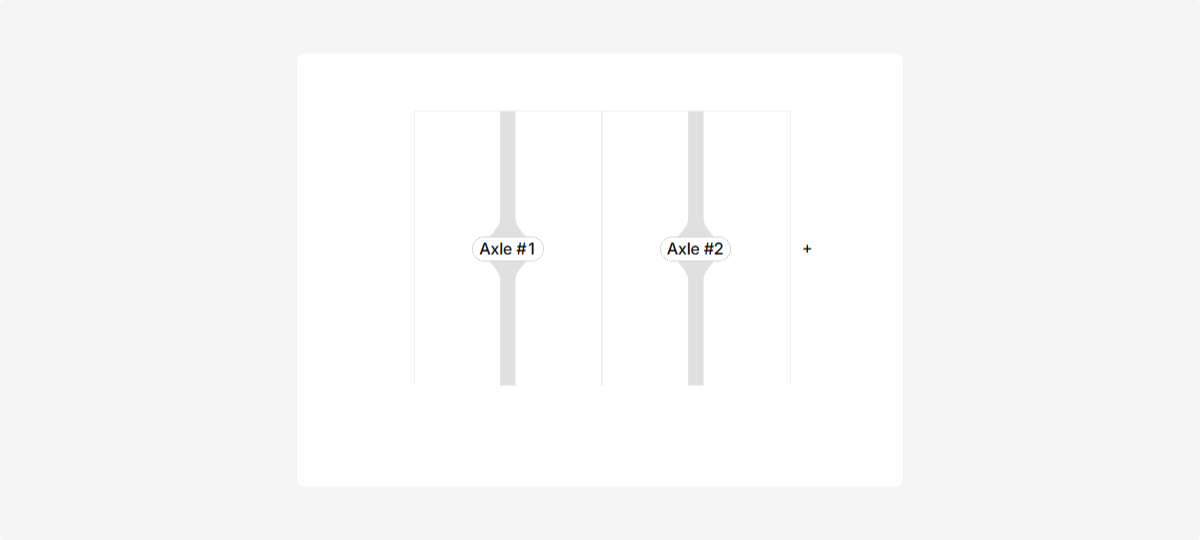
You can also add an axle from the object menu. Right-click the object in the list and select Add axle. The same axle configuration window will open.

How to add a tire
Once axles are added, you can install tires:
1. Click Add tire on the layout
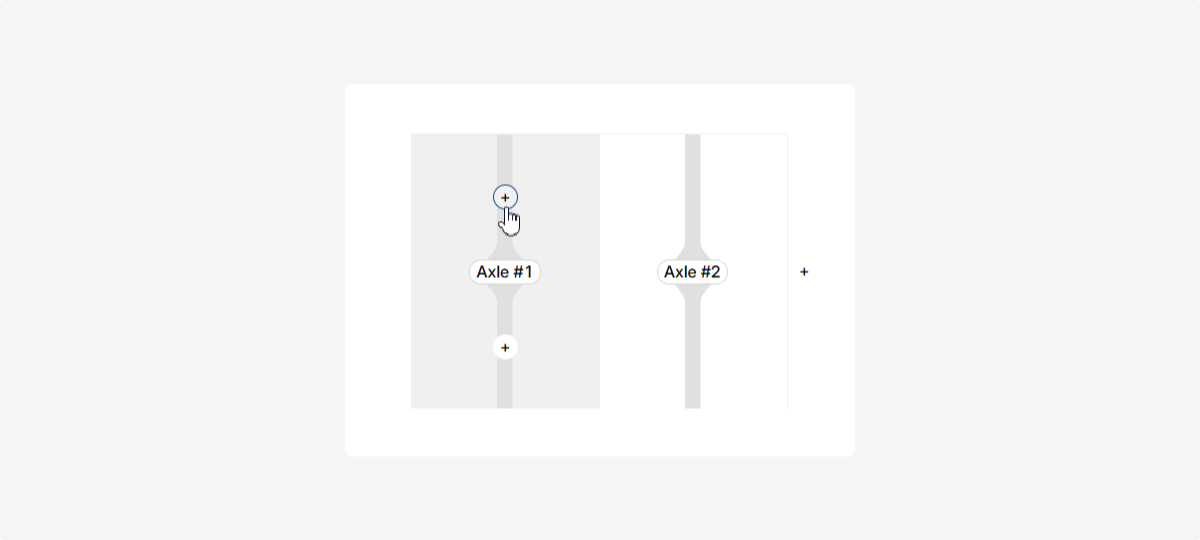
2. In the window, fill in tire details:

-
Tire name
-
Installation date and time (calendar selection)
-
Mileage at installation
-
Mileage threshold (for wear control)
-
Side of installation (left or right)
-
Position number
-
Serial number
-
Pressure and temperature sensors (select from the list)3. Click Save — the tire will appear in the layout
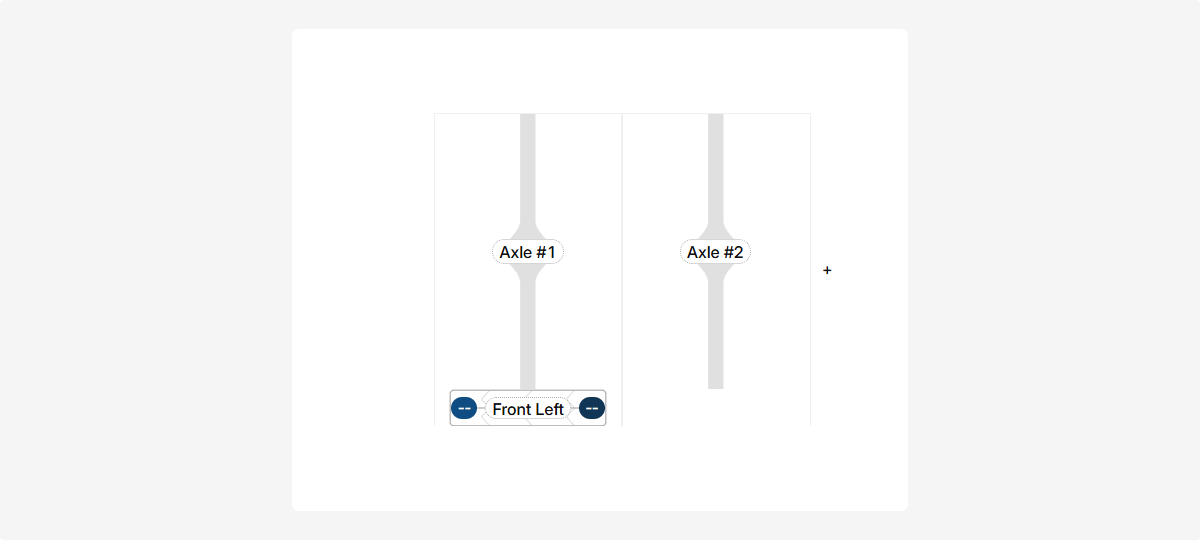
Once axles and tires are added, the object’s list entry will show:
-
Number of axles configured
-
Number of installed tires
-
Tire locations (by side and position)
-
Pressure values (from sensors)
-
Temperature of each tire
-
Mileage — both vehicle mileage and mileage of each installed tire

This data helps identify issues like pressure drops or overheating, extend tire lifespan, and avoid unplanned repairs.