How to manage RFID
The RFID Tags module allows you to add and edit RFID tags, organize them into groups, search for tags, and import data from Excel.
To create a new RFID tag:
1. Open the RFID Tags tab

2. Click Add 

The new RFID Tag form opens.
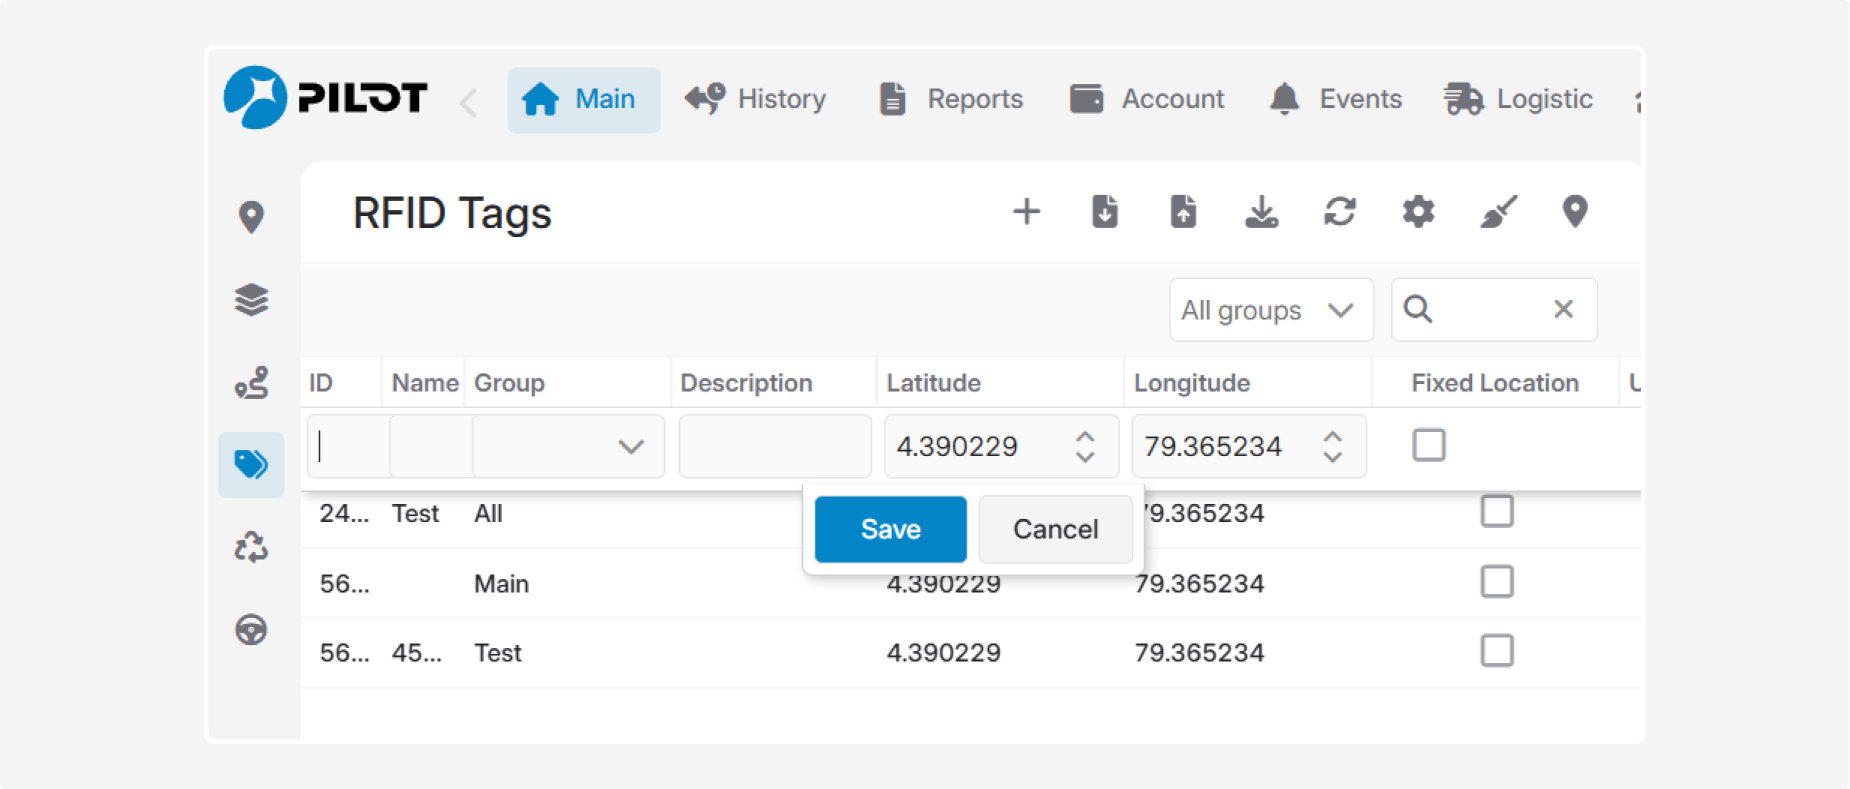
Fill in the required fields:
-
ID — the unique identifier of the RFID tag. It is usually entered manually using the identifier transmitted by the RFID reader when the tag is read. In some cases, the ID may be assigned automatically after the tag is read for the first time.
-
Name — the name displayed for the RFID tag in the system.
-
Group — the group to which the RFID tag belongs.
-
Description — additional information about the RFID tag.
-
Latitude and Longitude — the approximate location of the RFID tag. For example, if the tag is installed at a container site, checkpoint, or another stationary location, you can store its coordinates in the system.
-
Fixed locarion— enable this option if the RFID tag is installed in a permanent location and is not expected to move. A fixed-location RFID tag can be linked to a geofence, route point, or bus stop. PILOT then takes tag detections into account when determining visits to the linked location3. Click Save. The RFID tag will be added to the list
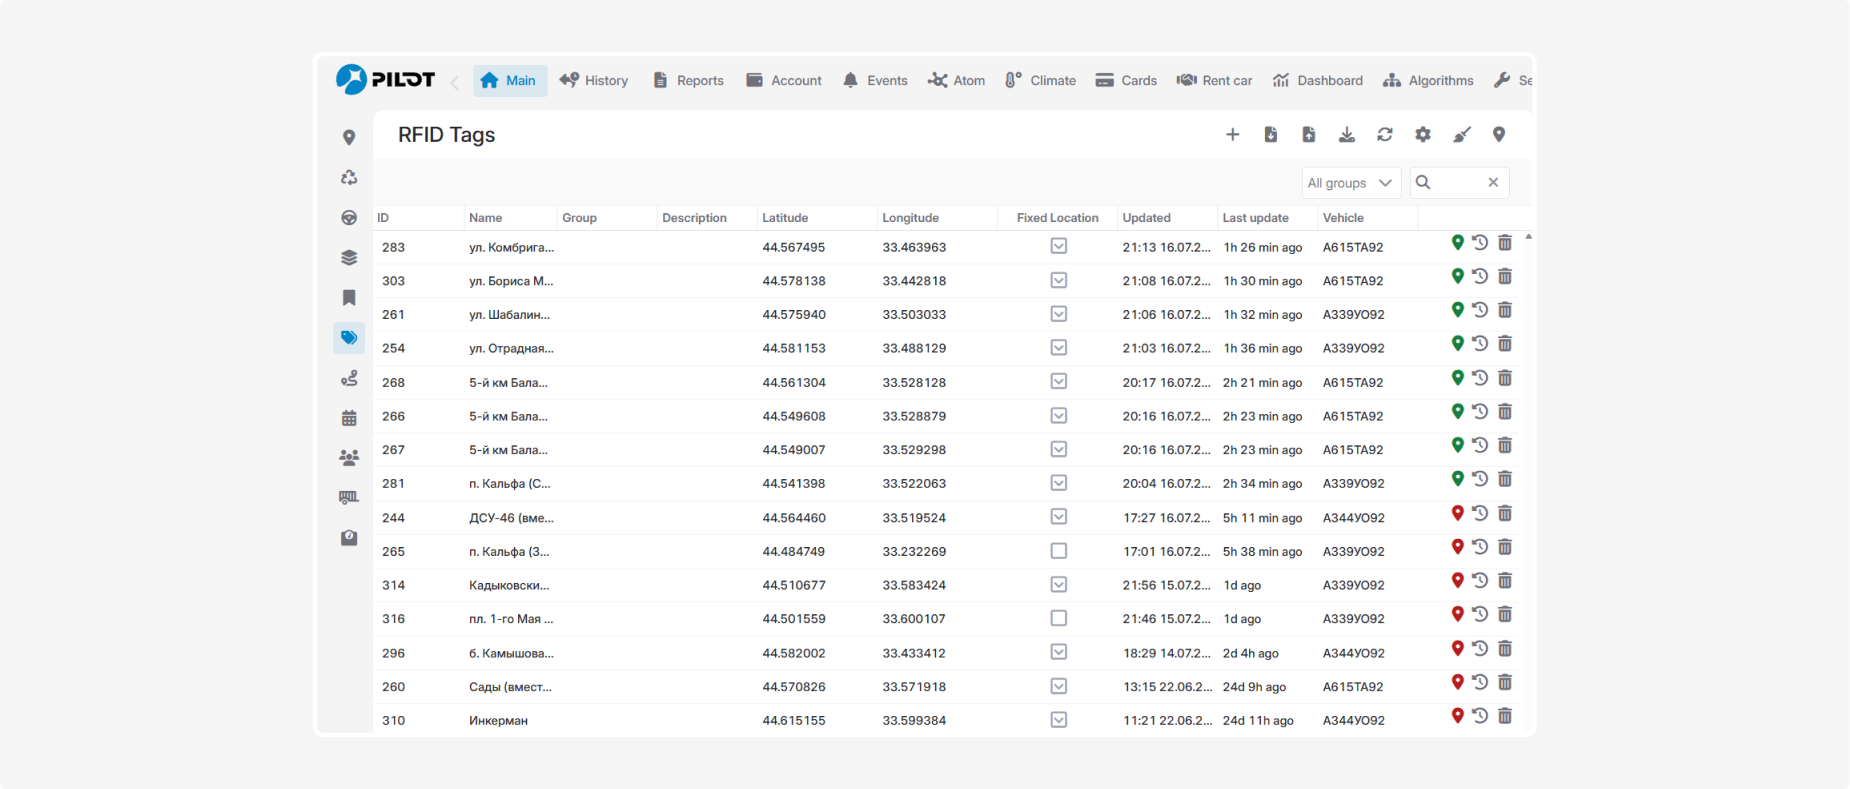
If the required group does not already exist, you can create it while adding or editing an RFID tag.
1. Enter a new group name in the Group field
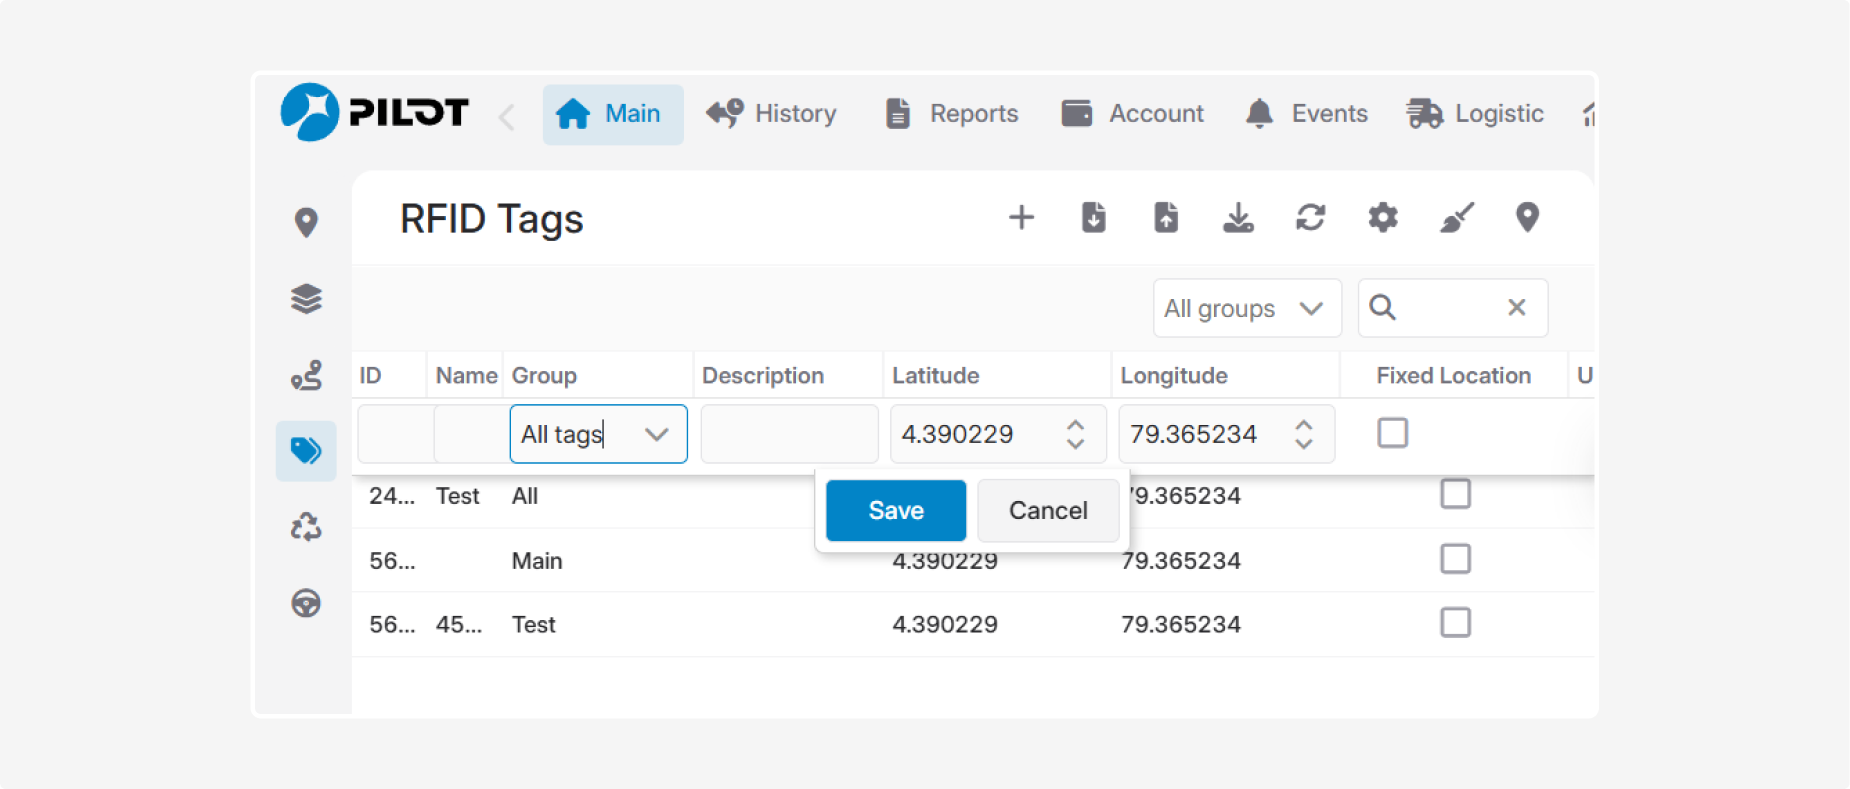
2. Complete the remaining RFID tag fields
3. Click Save
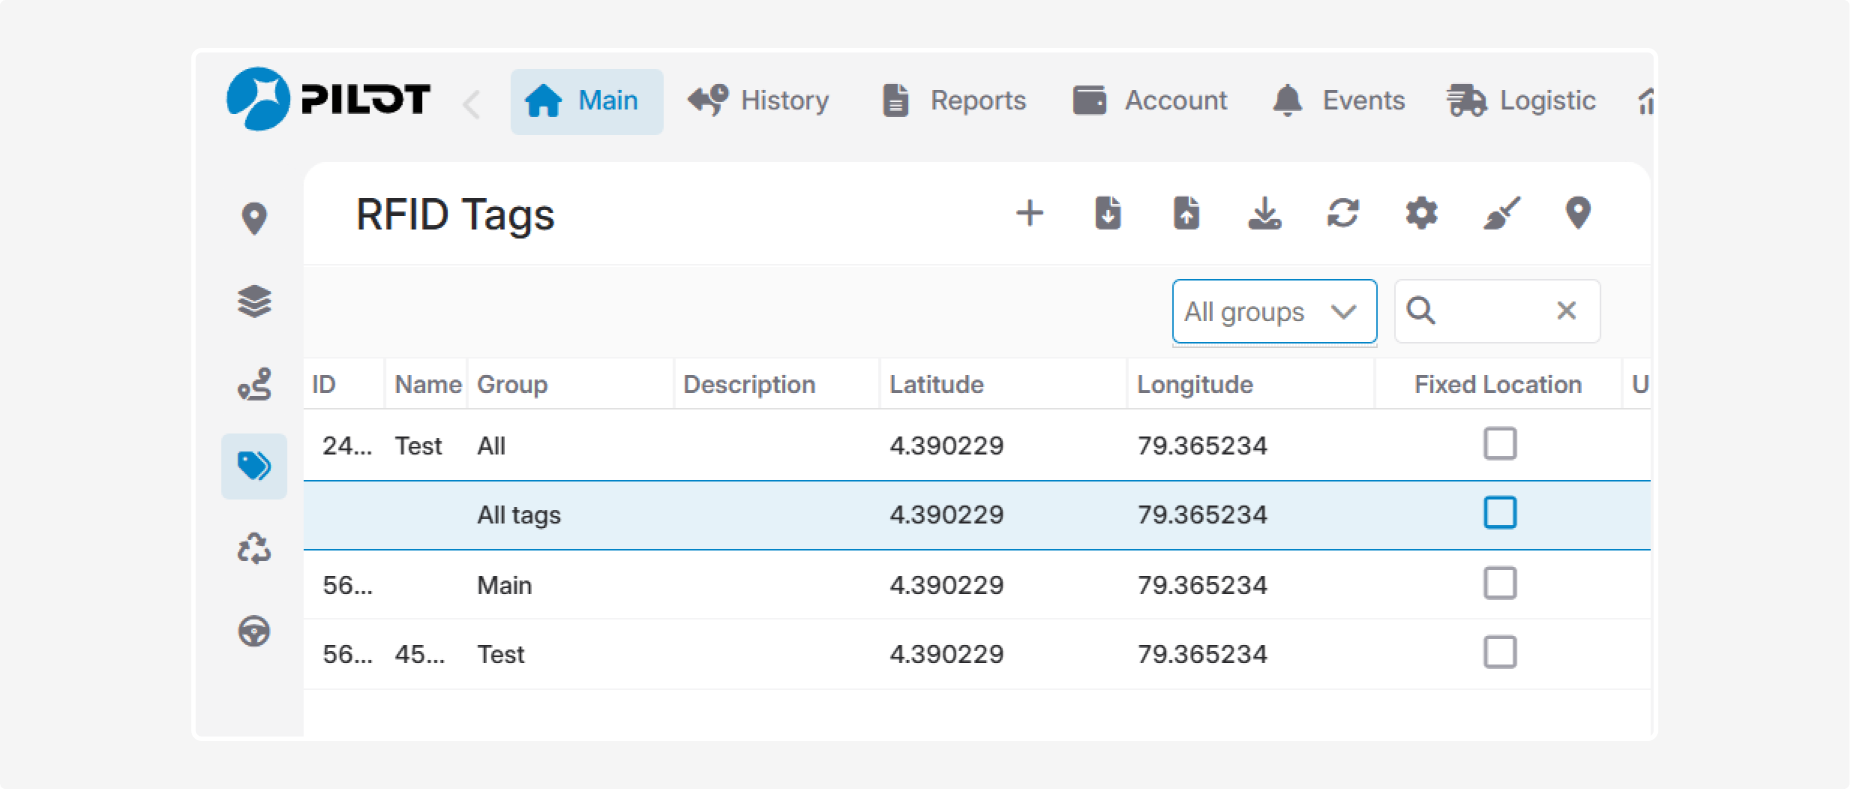
The new group will be created automatically and will be available when adding future RFID tags.
How to edit an RFID Tag
1. Double-click the RFID tag in the list
2. Modify the required fields
3. Click Save

How to find an RFID Tag
You can search for RFID tags using either the Group filter or the search box.

1 — Search by Group
Select a group above the list. The table will display only the RFID tags that belong to the selected group.
2 — Search by Name or ID
Enter the RFID tag name or ID in the search box. Only matching RFID tags will remain in the list. To display all RFID tags again, clear the search field.
Toolbar commands
The toolbar provides commands for creating, updating, importing, exporting, and displaying RFID tags.
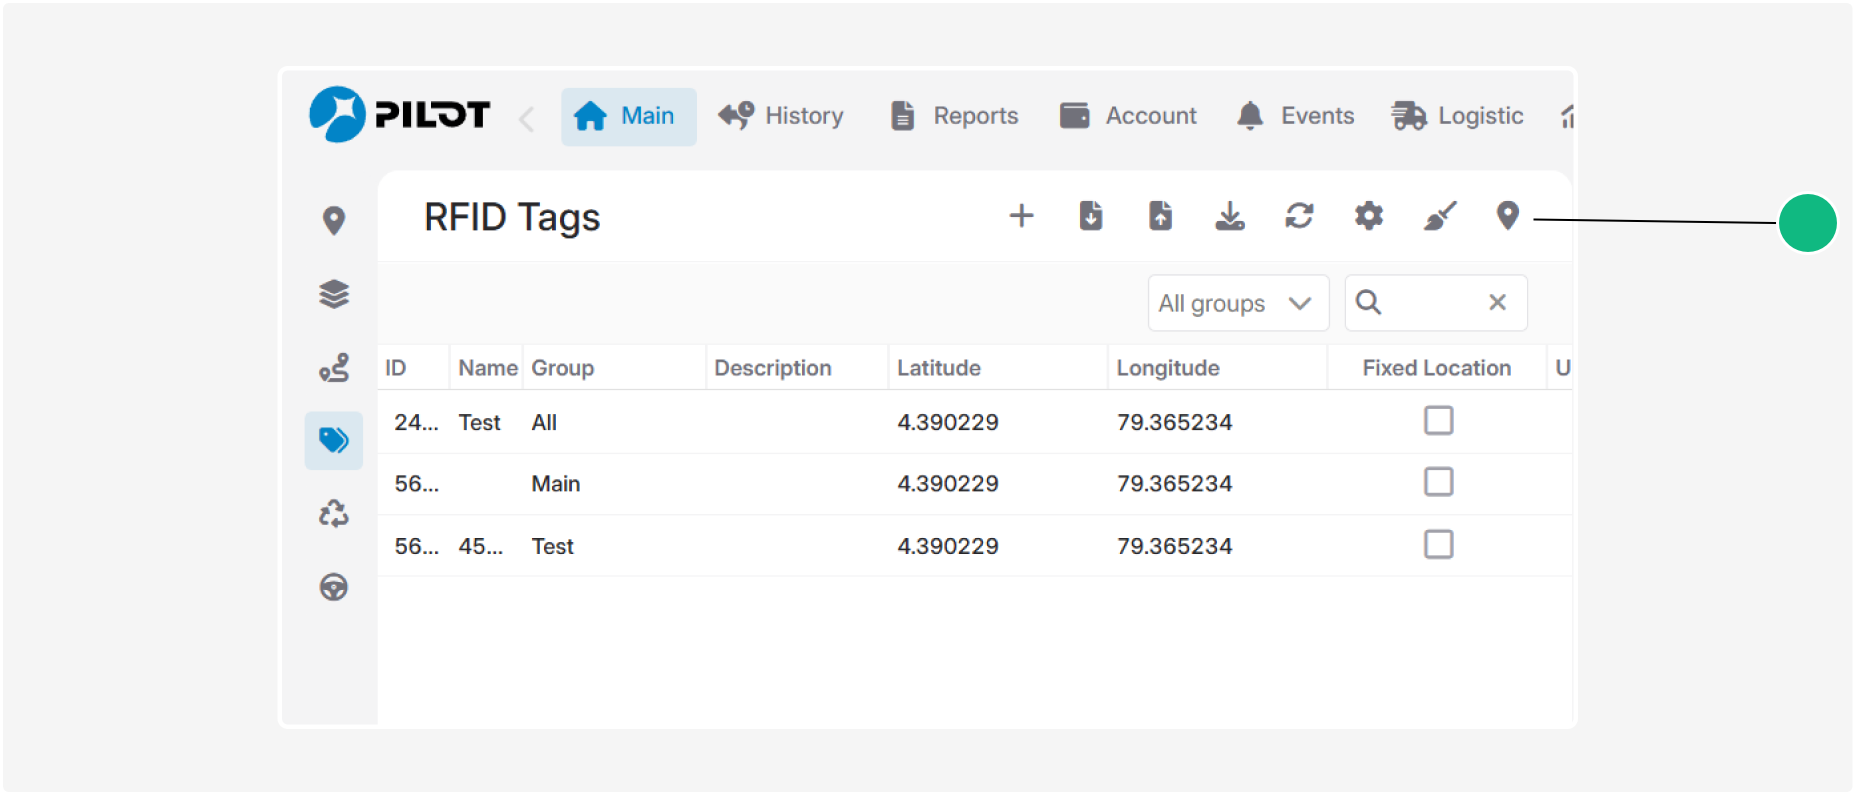
 Add — create a new RFID tag
 Export to Excel — export the RFID tag list to an XLSX file
 Import from Excel — import RFID tags from an XLSX file to add new tags or update existing ones. Before importing, make sure the file matches the required Excel template
 Download Excel template — download the Excel template for importing RFID tags. Fill in the required fields, save the file, and then use Import from Excel to upload it
 Refresh — refresh the RFID tag list without reloading the page
 Icon color settings — configure how RFID tag icons are colored on the map based on how recently data was received
 Show on map — display the selected RFID tags on the map. Select one or more tags before using this command
 Clear map — remove all displayed RFID tags from the map
RFID Tag actions
Additional actions are available for each RFID tag in the list.
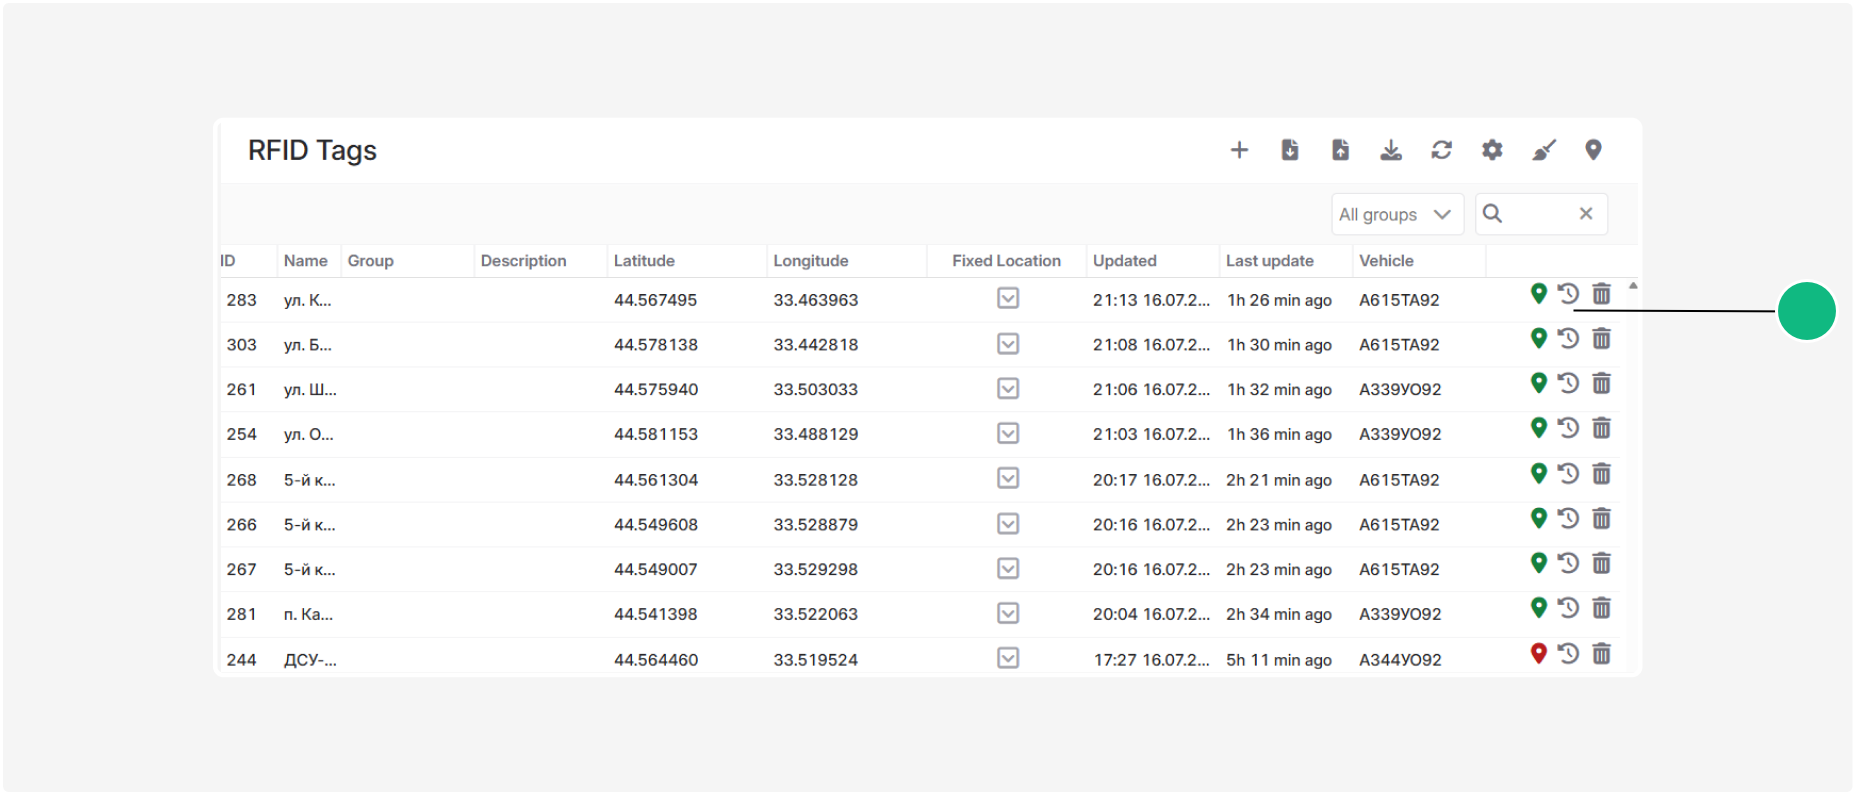
 Show on map — display the last known location of the RFID tag on the map
 Tag history — view the RFID tag's read history
 Delete tag — remove the RFID tag from the system