How to create a route
To create a route in the system, you need to fill in the main parameters in the route builder and add route points that will be displayed on the map. In this article, we explain how to create a route and configure its parameters so it is ready for use in the system.
How to create a route
1. Go to the Routes tab
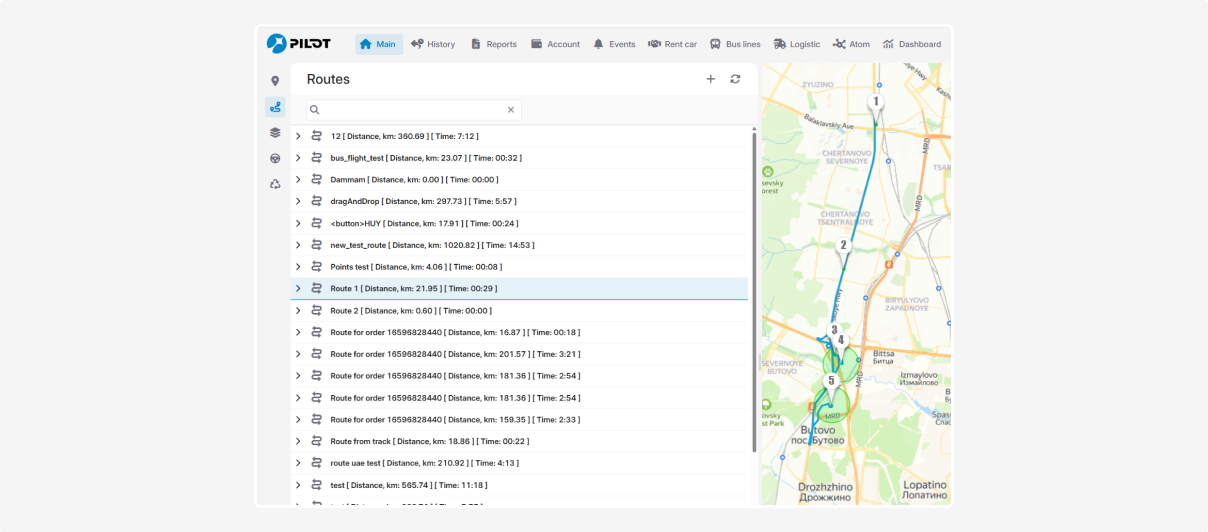
2. Click  — the Build route form will open


Main settings
1. Name
Enter a clear and descriptive route name, for example: “Route No. 5”, “Downtown Delivery”.
2. Detection range (km)
This parameter defines how far from the route line a vehicle can be and still be considered as following the route.
In simple terms, the system creates a “corridor” around the route. For example, if you set 0.3 km, it means 300 meters on each side of the route line.
As long as the vehicle moves within this corridor, the system considers it to be on the route. If it goes beyond the corridor, a route deviation is recorded.
You can enter a decimal value (for example, 0.3).
-
A value that is too small (for example, 0.05 km) may cause false deviations due to GPS inaccuracies.
-
A value that is too large (for example, 5 km) may treat significant detours as part of the route.
3. Geocoder
Select the service that automatically determines the address based on the coordinates of route points.
Control time
This is the planned time required to complete the entire route.
For example, if the route usually takes 2 hours and 30 minutes, enter 2 hours and 30 minutes.
This value is used in reports:
— to compare planned versus actual time
— to check whether the driver meets the expected schedule
Route completion percentage
This parameter defines what percentage of route points must be visited for the route to be considered completed.
For example, if there are 10 points and the percentage is set to 90%, the driver may skip one point and the route will still be considered completed.
This allows flexibility in case of unforeseen circumstances, such as accidents or traffic jams, when the driver is forced to bypass part of the route.
-
Active checkbox
To apply the completion percentage rule:
1. Enter the required percentage (for example, 80)
2. Enable the Active checkbox
3. Save the route builder
How to add route points
A route point is a checkpoint where the system records the fact that a vehicle has passed a specific location.
1. Go to the Points section below the route settings
2. Click
3. Select the required location on the map or enter the address manually. The point will appear on the map

4. If necessary, drag the marker to the exact position
On the map, a route point is displayed as a numbered icon surrounded by a circle — this circle represents the detection radius. On the map, it appears as a red dashed line. The radius determines when a vehicle enters or exits the checkpoint area. When a vehicle enters the radius, the system records the point as visited.
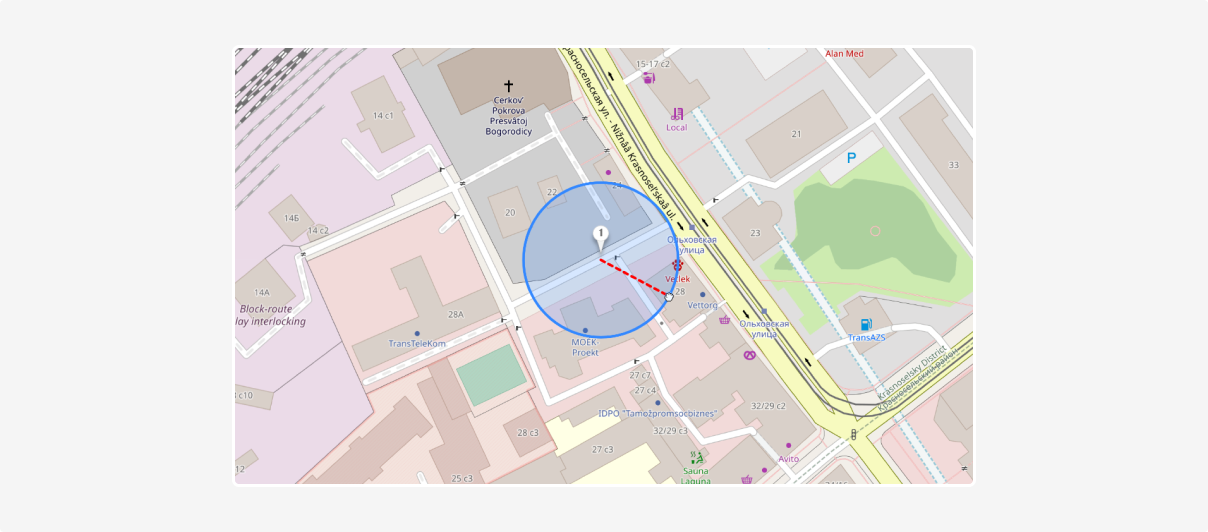
To change the radius, left-click on it and drag it to the desired size.
The radius affects detection accuracy: the larger the radius, the greater the allowed margin for visit confirmation. A radius that is too large may register arrival before the actual stop, while a radius that is too small may result in a missed point.
If the vehicle does not cross the checkpoint radius, the system will not record the visit — this will be considered a route deviation.
5. Repeat the process for other route points and click Save
If you add two or more points, the system will automatically build a route between them.

How to assign an RFID / BLE tag to a route point
A BLE tag is a small physical device (Bluetooth Low Energy) installed at a specific location, for example at a terminal stop or on a client’s premises.
When a vehicle approaches this location, the tracker detects the tag and sends its unique identifier (IButton parameter) to the system.
Why this is useful:
— when GPS signal is unstable or jammed
— when precise confirmation of arrival at a specific location is required
— when accurate route completion tracking is important
Tags can only be assigned to route points if the RFID Tags module is enabled. Before assigning tags, they must be configured in that module. To learn how to create a tag, refer to the corresponding article.
|
If you use BLE tags:
1. Open the route
2. Select the required route point

3. Click the tag icon  next to the selected point
4. In the pop-up window, select the required tag and assign it to the point
The tag must be located within the radius of the point.
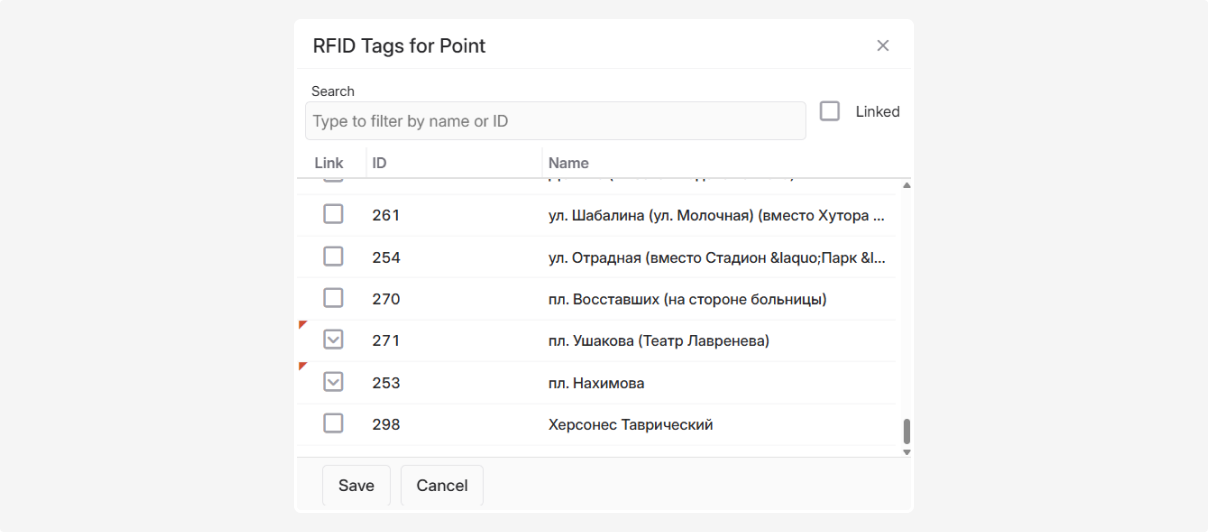
5. Click Save
You can assign multiple tags to a single route point.

After assigning the tag, save the route.
When a vehicle follows a route, the system applies the following logic:
1. Checks whether a BLE tag is assigned to the route point.
2. Searches for an IButton event within a ±5-minute interval from the time of passing.
3. If the tag is detected, the point visit is recorded based on BLE data.
4. If the tag is not detected, the system uses the standard GPS geofence validation.
As a result, even if the GPS signal is unstable, the route will still be validated correctly — based on the actual physical arrival at the point.
How to view or edit a route
1. Go to the Routes tab
2. Find the required route in the list
3. Right-click on the route
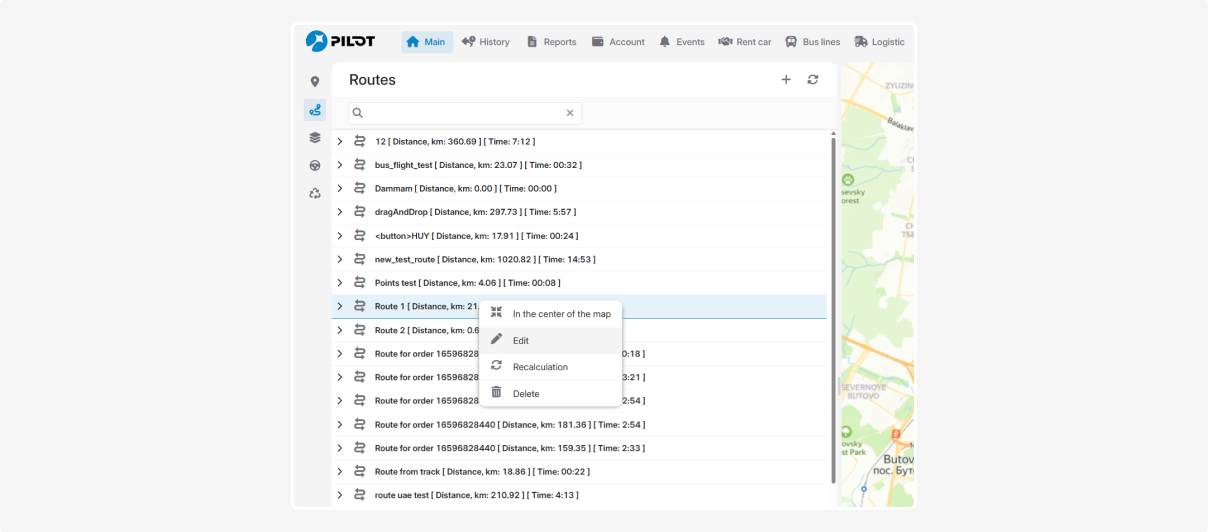
4. Select Edit
5. The route builder will open, where you can make changes or simply review the current settings
