How to add stops
A stop is a geographic area that the bus must visit during a bus line route.
1. Go to the bottom part of the workspace — here you will see the list of all stops
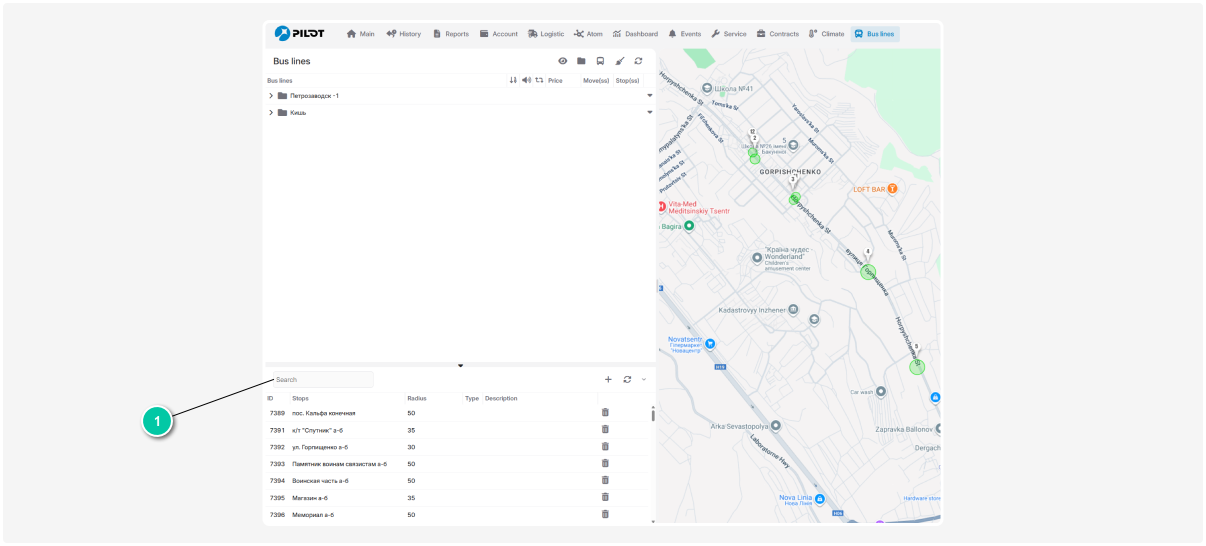
2. Click the Add stop button  to create a new stop
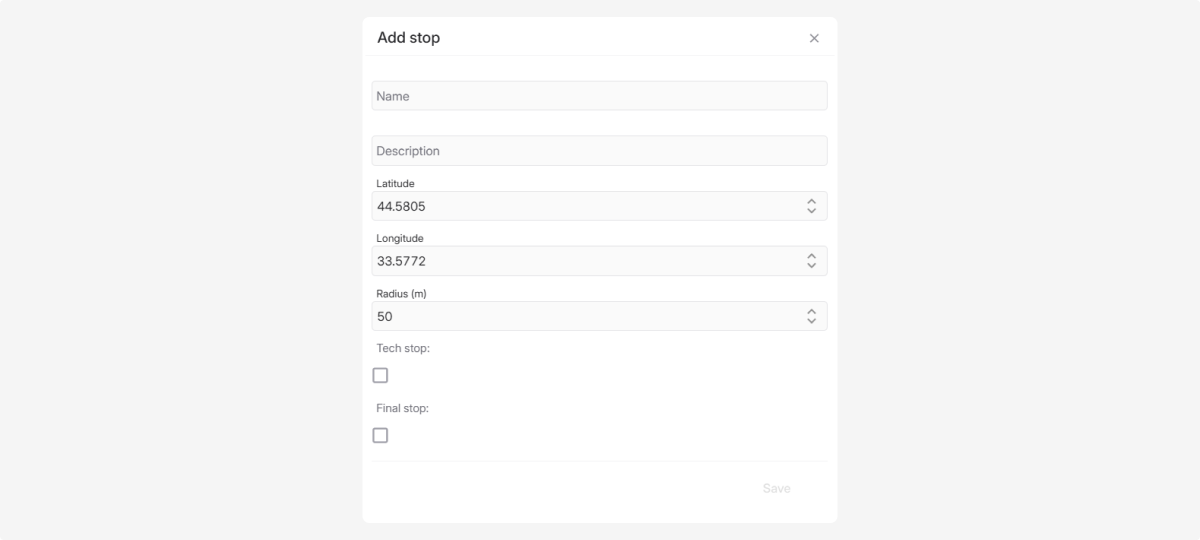
3. In the window that opens, fill in the following:
-
Name and description
-
Coordinates: enter manually using arrows or by moving the marker on the map
-
Stop radius (m) — the zone within which the bus arrival is registered
Optionally, you can check:
-
Technical stop
 — not included in passenger boarding or alighting, but counted in the route calculation.A technical stop is a point on the route that:
-
Does not appear in passenger schedule
-
Does not record passengers boarding or alighting
-
Is used in route construction — helps define the correct route trajectory
-
Can be used for bus movement monitoring — e.g., as a control point
-
Does not affect passenger flow reports — its data is not included in boarding/alighting statistics
-
-
Final stop
 — the point where the route ends, after which the bus starts the return trip.If you mark a stop as Final, the system will treat it as the last stop on the route:
-
The route will be trimmed — all stops after this one will not be used
-
The bus will start moving in the opposite direction — switching to the return schedule (if the line is bidirectional)
-
Only stops up to and including this final stop will be included in schedules and reports
-
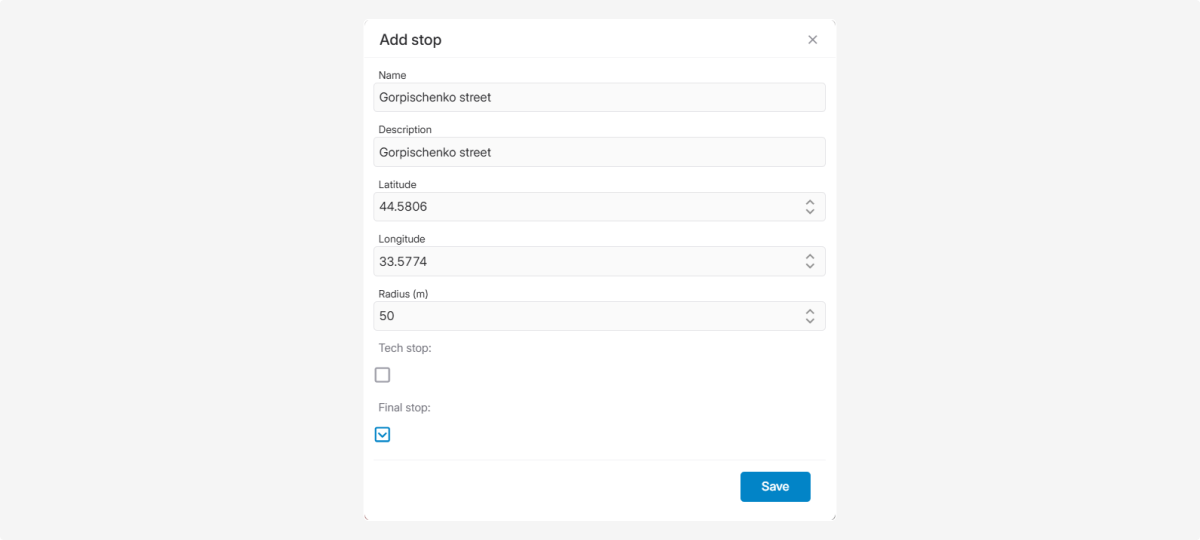
4. Click Save — the stop will appear in the list.
In the list, all added stops are displayed with ID, radius, type, and description.
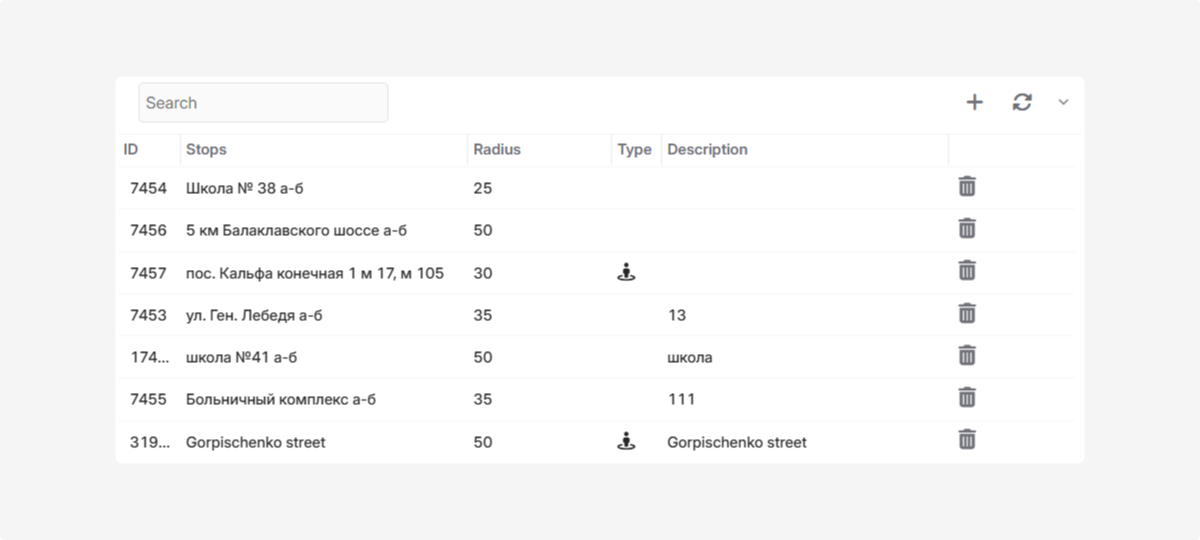
To edit a stop, double-click it in the list and make changes in the window that opens.
To delete a stop from the list, use the delete icon  .
.
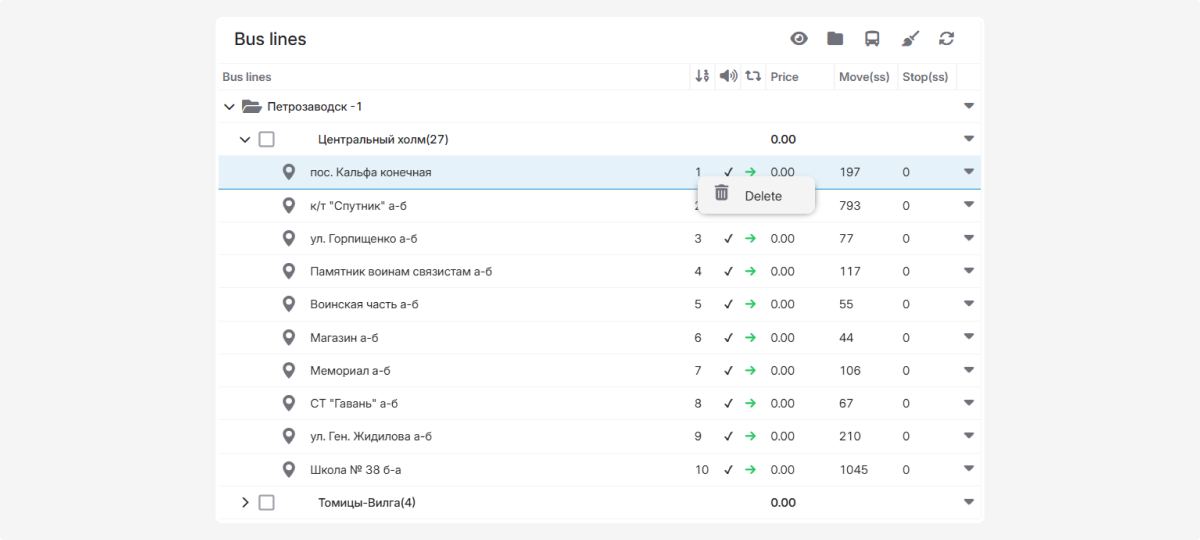
Once you add bus lines, the list will show all created lines and the number of stops in each.
Click the arrow  next to a bus line to expand its stops list.
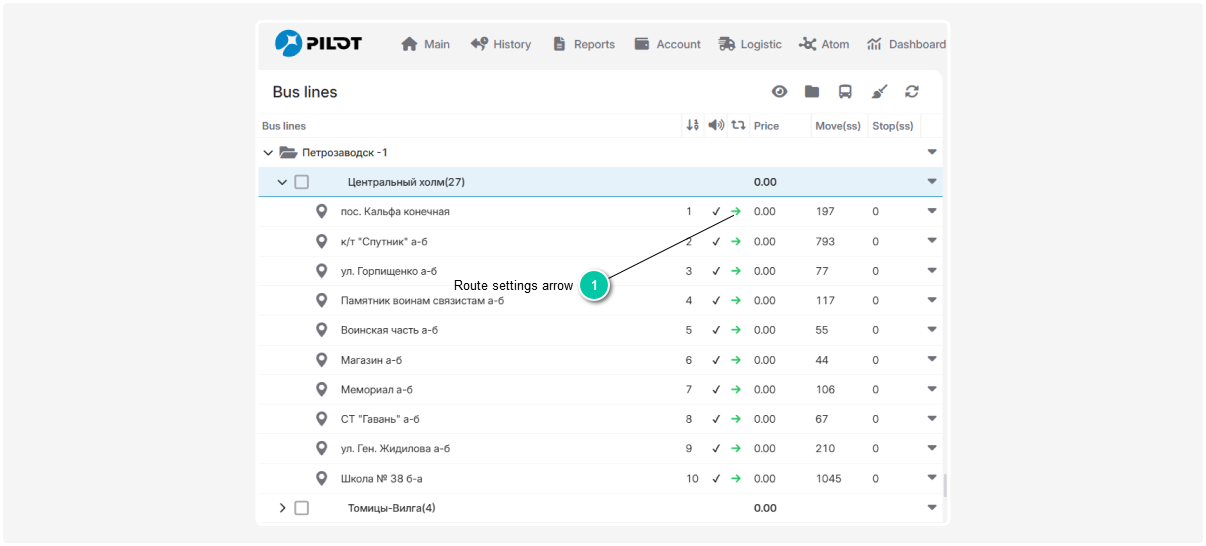
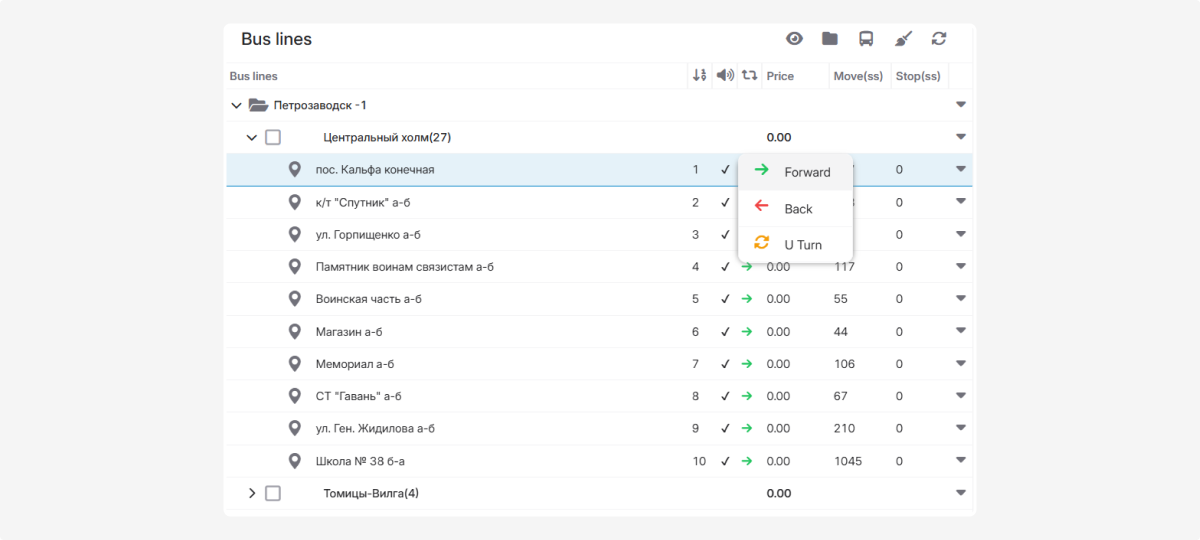
In each stop entry, there is an arrow  — click it to open a menu to manage the route:
-
Forward / Back — change the stop order on the route
-
Turnaround — indicate that the bus turns at this stop and starts moving in the opposite direction
To remove a stop from a line, right-click the stop in the list and select Delete.