How to create a notification
Once the Notifications module is activated, a new Notifications tab will appear in the Account settings. Use this tab to configure the events that trigger automatic notifications for users.


Main notification parameters
Select a Template if you wish to use a pre-configured set of settings.
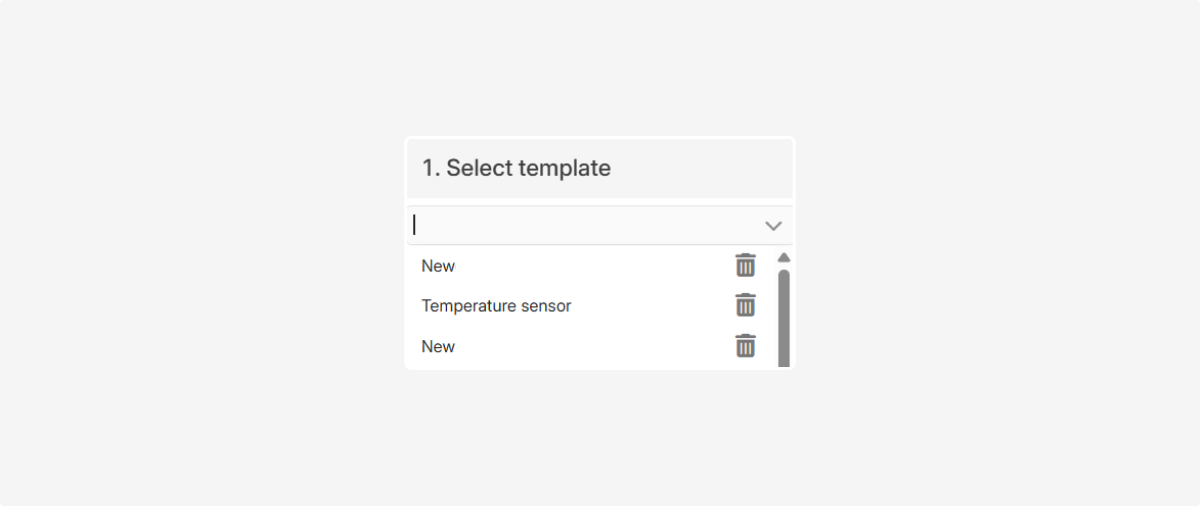
A template is created after you have configured a notification — simply fill in all the parameters and click Save Template. You can then reuse this configuration for other notifications
Specify which objects the notification should apply to:
• By objects — select specific vehicles or pieces of equipment
• By tags — apply the notification to a group of objects sharing the same tag

Enter a Name for the notification to help you quickly identify it in the list and understand which event it monitors.

Select the Delivery Method you wish to use:
• SMS — text message to a phone
• Push — notification in the mobile app
• Email — email message
• Alert — a pop-up notification within the system interface
• Control Room — the event will be displayed in the Control room
• Webhook — data transmission to an external service
• Command — sends a specific command to the tracker.
• Command template — sends a pre-configured command template to the device.
• Telegram — notification via a Telegram bot
To receive Email notifications, please ensure your email address is verified in your personal settings.
|
If needed, you can enter a Alternate message text that will be sent when the notification is triggered.
If the Control Room module is active, the Algorithm binding button will be available. This allows you to set up automated processing scenarios — for example, a sequence of actions that the system should perform when a specific event occurs.
In the Notification time block, you can define when the notification should be active:
— Select a time zone
— Specify days of the week
— Set specific time Intervals

Check the parameters you wish to include in the notification text:
— Current speed
— Object driver
— Geofence name (if the Geofences module is active)
— Google maps link
— Live link to the event
— Event address
The live link to the event opens the object's location directly on the map from the notification. After clicking, you will see the object's current position and its main parameters.

This link is temporary and will expire after a certain period.

Select the event that should trigger the notification.

Examples include:
— Speeding
— Sensor triggers
— Idling or movement
— Loss of connection
— Other system events
Each notification type has its own set of trigger conditions (e.g., speed threshold, event duration, or sensor values). For more details, please refer to the "Notification types and trigger conditions" article.
7. Geofence parameters
This setting is available if the Geofences module is active.
|

You can specify which geofences should trigger the notification.
Select one or more geozones from the list or use the button  .
.
Then, choose where the notification should be active:
• Anywhere — the notification is sent regardless of the object's location.
• In selected zones — the notification is sent only if the object is inside the marked geofences
• Outside selected zones — the notification is sent only if the object is outside the marked geofences

All created notifications are listed in the Notifications tab under Account settings. To learn how to manage them, please read the "Working with the notifications list" article.