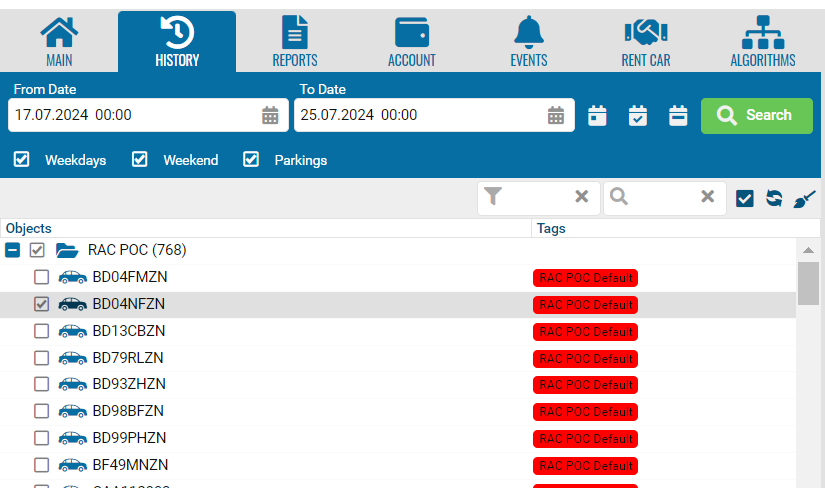
Build a trip track
• Go to the history section.
• Select an object.
• Specify the period or select the appropriate button (yesterday, today, last week).
• Mark working days.
• Perform a search.
You can put any number of tracks on the map for one or several objects over different periods of time.
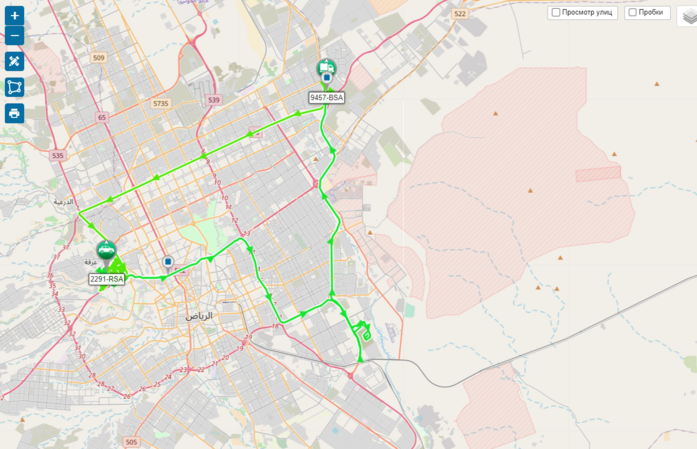
The color of the track can be a single color or depend on criteria such as trips, object speed, sensor readings.
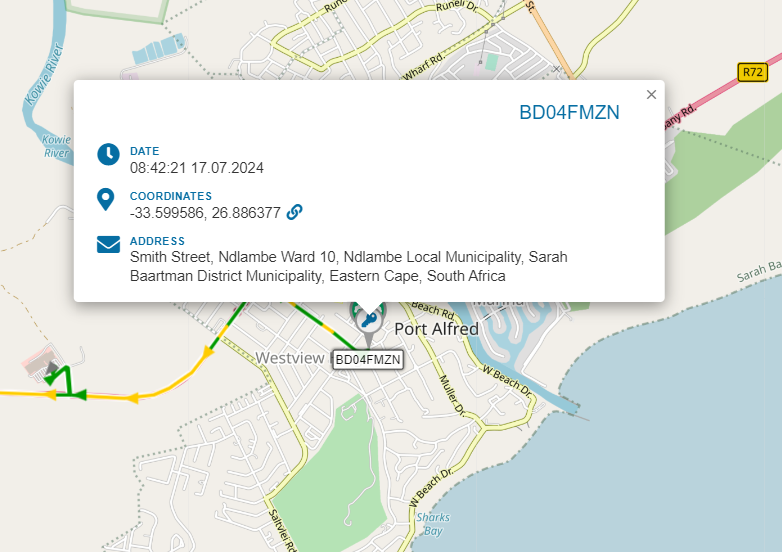
Using markers on the map, places where drains, speeding, sending videos, parking and other events occurred are indicated.
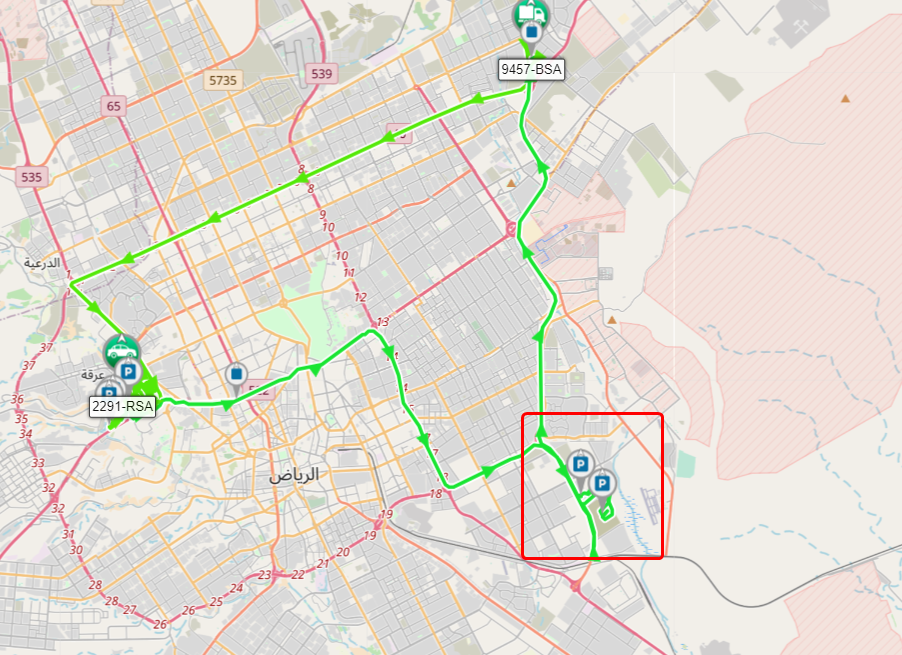
To turn on a marker, click on it.
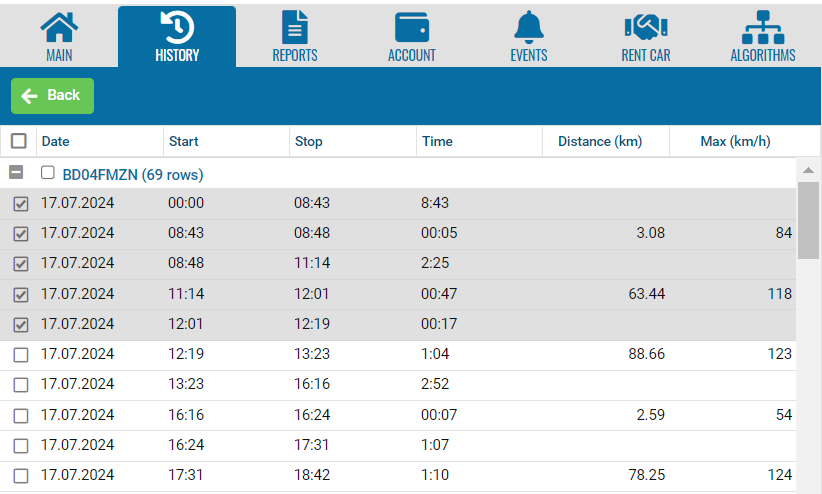
The list of tracks is located on the left side of the window under the Build track button.
Each line shows the name of the object, the start and end time of trip detection, mileage for the specified interval and parking.
To configure detection parameters that affect the construction of the track, go to the object settings.
-
Additionally, you can show or hide some columns in the menu. For example, display parking lots and other data. By default, they are always hidden.
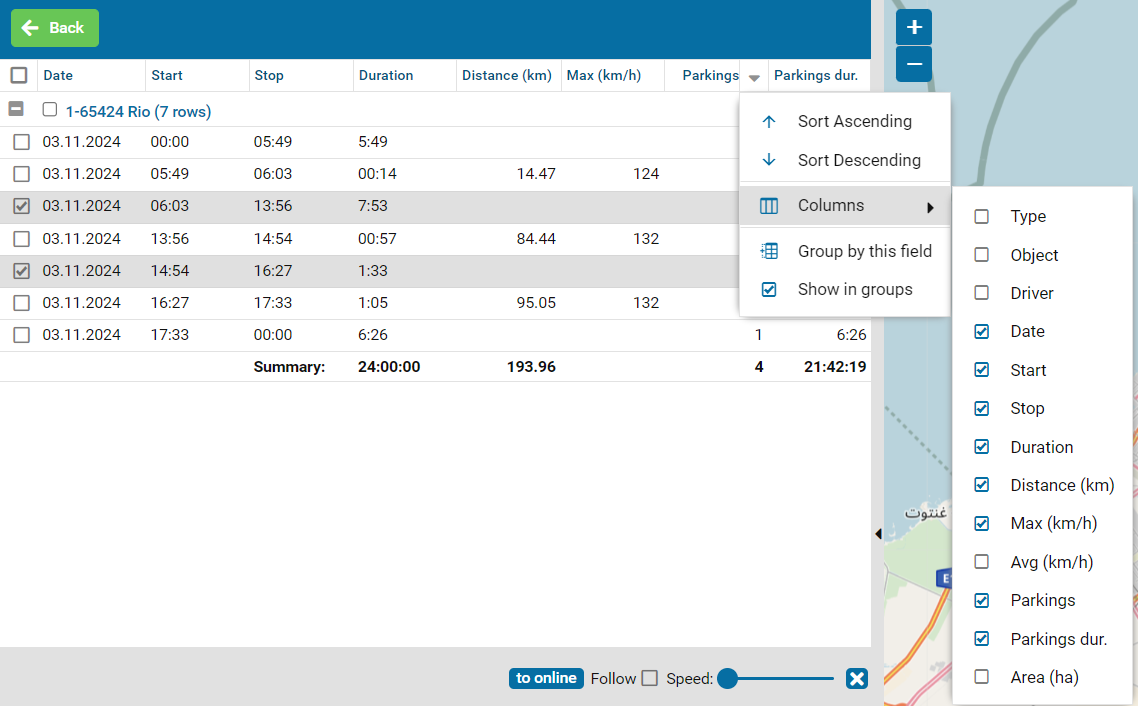
2. On the map you can see all the tracks at the same time or only the necessary ones.
To have a track shown on the map, check the box next to it.
Check the checkbox in the list header to select all tracks at once, or uncheck it to deselect them.