How to work with the Climate module
The Climate module helps you monitor temperature and humidity at monitoring objects.
It allows you to organize sensors into a room structure, view their current values, track updates, and display sensors on the object layout.
In this article, we'll cover:
For the Climate module to work correctly, temperature or humidity sensors must be pre-configured at the monitoring objects.
The module only works with sensors that have already been added to the system and linked to monitoring objects.
Therefore, before you begin, ensure that you have:
1. Created a monitoring object
2. Configured a temperature or humidity sensor on that object
Example
Suppose you want to monitor the temperature in a living space. Here is the workflow:
1. First, create a Home object in the monitoring system. Read how to create a monitoring object here

2. Then, add a temperature sensor to it. Read how to configure a sensor on an object here

3. After that, open the Climate module and link the sensor to a room.
The module interface is divided into two main parts:

Room and sensor List
The left side contains the main workspace with a list of:
-
Names of buildings, floors, and rooms
-
Sensors linked to each room
-
The current value of each sensor
-
Last update time
-
A mini-graph showing value changes
At the top of the list, you will find tools:
Room layout
If an SVG layout has been uploaded for a room, a plan with sensor markers will be displayed on the right.
1. Create a room
To start monitoring the climate, you need to create a structure: building, floor, or room.
1. Go to the Climate section
2. Click the Add button  at the top of the list

3. In the pop-up window, enter the name of the room
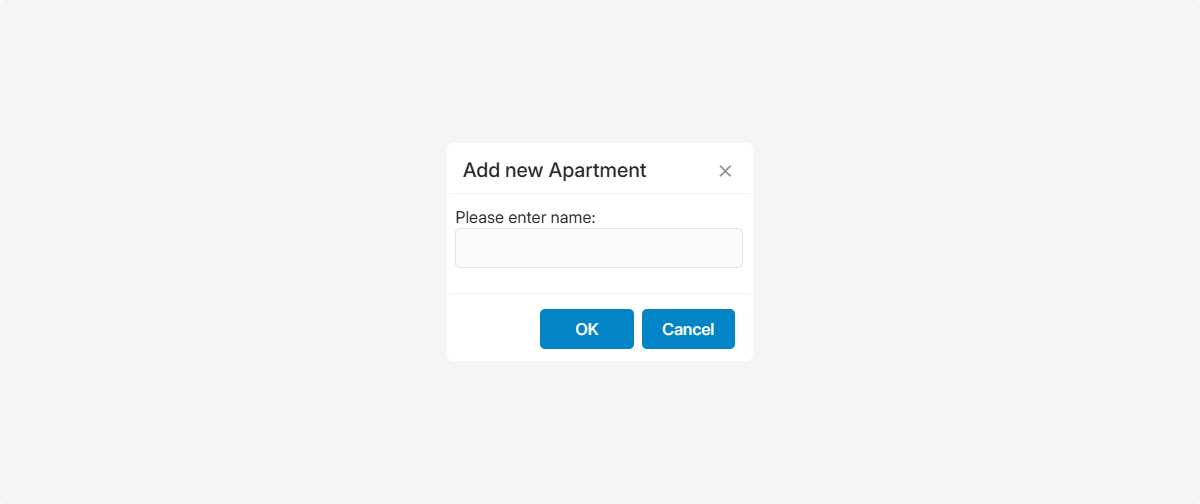
4. Click OK

The new room will appear in the list. You can now work with it via the context menu.

To edit a created room:
1. Right-click on the room
2. Select Edit from the menu

3. In the opened window, change the name
4. If necessary, select the room type: Building, Floor, or Room
5. Click Save
If your space consists of several zones, you can make the structure more detailed. For example, add floors to a building, and rooms to a floor.
1. Right-click on the desired room in the list
2. Select Add apartment from the menu

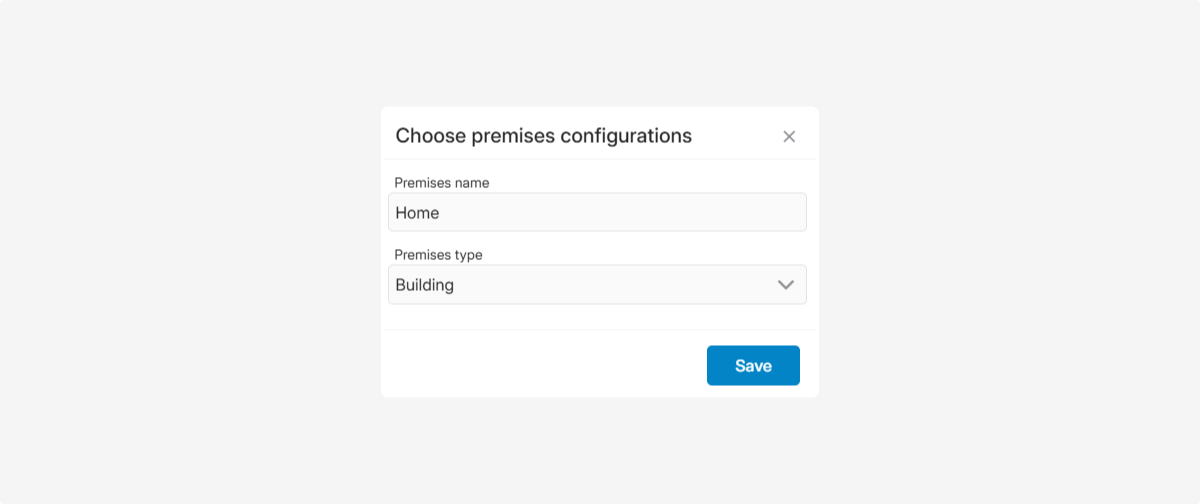
3. Specify the name of the new element

4. Select the type of room: Building, Floor, or Room
5. Click Save
The new element will appear inside the selected room. You can repeat this process to build the structure you need

After creating a room, you need to link a sensor to it:
1. Select the desired room in the list
2. Right-click and select Add sensor

3. A settings window will open where you need to select:
-
Monitoring object — the object to which the sensor is linked

-
Sensor — the specific temperature or humidity sensor from the list
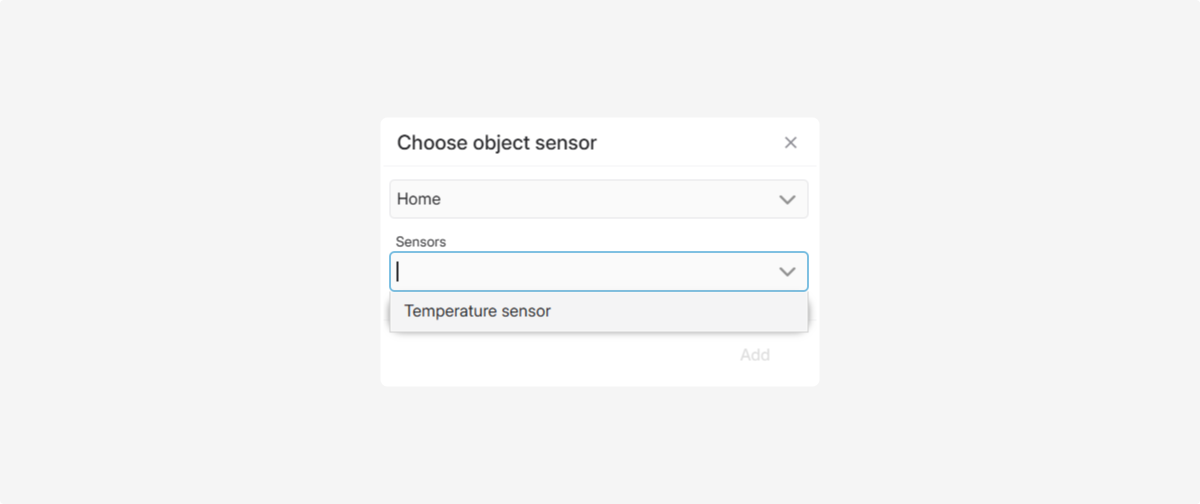
4. Click Add
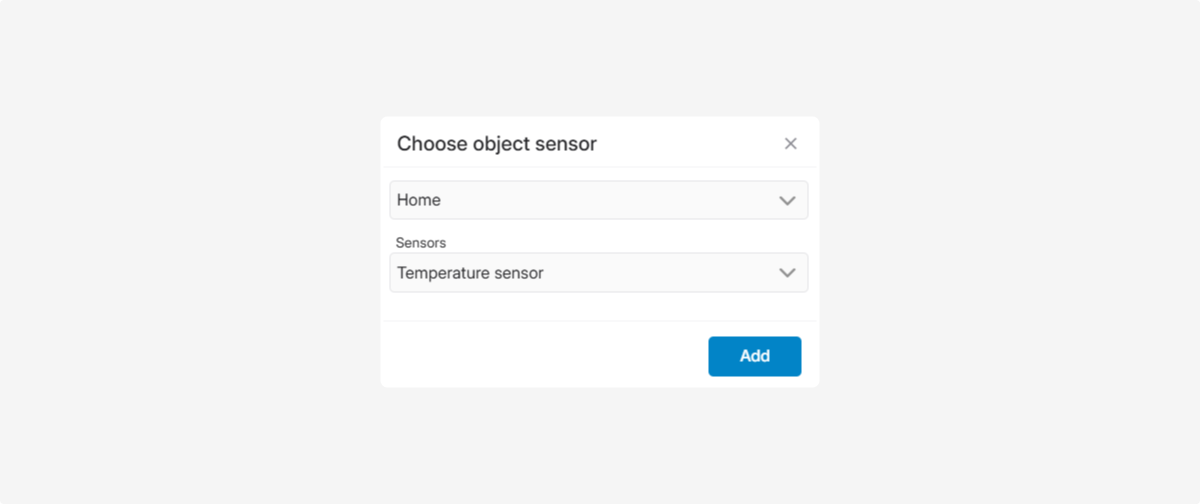
After saving, the sensor will appear in the Climate module list.
The following will be displayed for it:
-
Name — the sensor's name in the system.
-
Current value — the temperature or humidity right now.
-
Update time — when the data was last received.
-
Mini-graph — how the value has changed over time.
If a layout is uploaded, the sensor will also be displayed on it.

If you hover your cursor over a sensor in the list, a tooltip will appear.

It shows:
-
Sensor name
-
Sensor ID
-
Sensor type
-
Current value
-
Current status
Sensors can have the following statuses:
-
In Range — the value is within the acceptable range.
-
Out of Range — the value has exceeded the acceptable limits.
-
Offline — no current data is being received from the sensor.
A mini-graph of the sensor's operation and value changes may be displayed next to the sensor in the list. It helps you quickly see how values have changed over time.

If you hover over the graph, you can see a tooltip with additional information—for example, the value at a specific point in time or the time of the reading change.
1. Right-click on the sensor
2. Select Remove sensor

3. Confirm the deletion
A room layout is an SVG file containing the plan of your site. After uploading the layout and adding sensors, you can:
— see sensors directly on the plan
— compare values between rooms — see the temperature difference in different zones
— monitor the situation visually
How to upload
1. Select the desired room in the list.
2. Right-click and select Load SVG

3. Select the SVG file with the room layout
4. Specify the width and height of the layout — these are the dimensions in which the layout will be displayed in the interface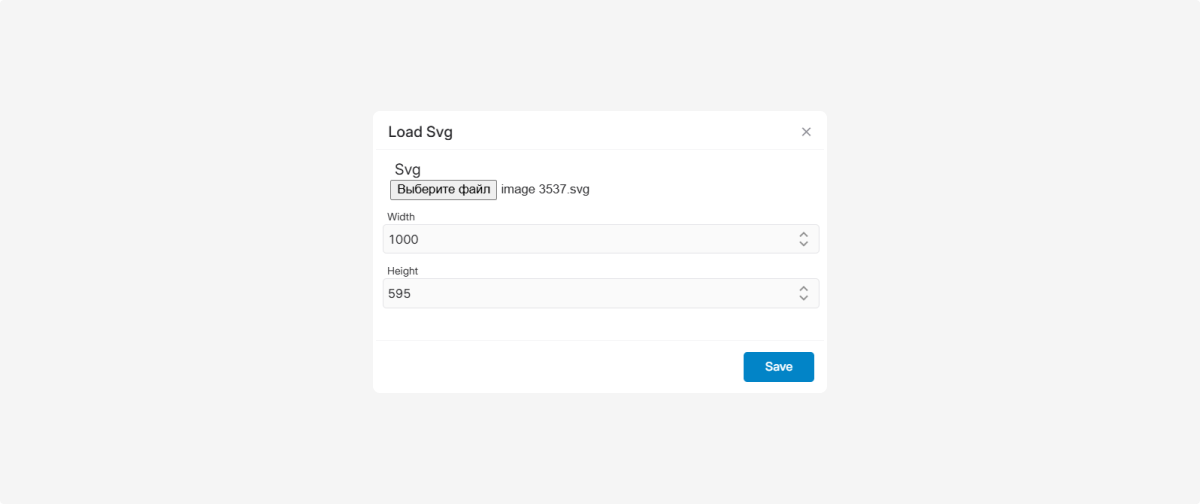
5. Click Save
After this, the layout will appear in the right part of the module window.

After uploading the SVG layout, added sensors will automatically appear on the plan.

You can drag and drop sensors with your mouse to place them according to their real-world location.
When you hover over a sensor on the layout, a tooltip appears with its name and current value.

To open the actions menu, right-click on a room.

Through this menu, you can: