Report scheduler
The Report scheduler automatically generates and sends reports according to a specified schedule.
You can use it to:
-
select the required report type
-
configure the period for which data should be included in the report
-
specify when and how often the report should be generated
-
select objects or tags
-
specify the email addresses to which the report should be sent
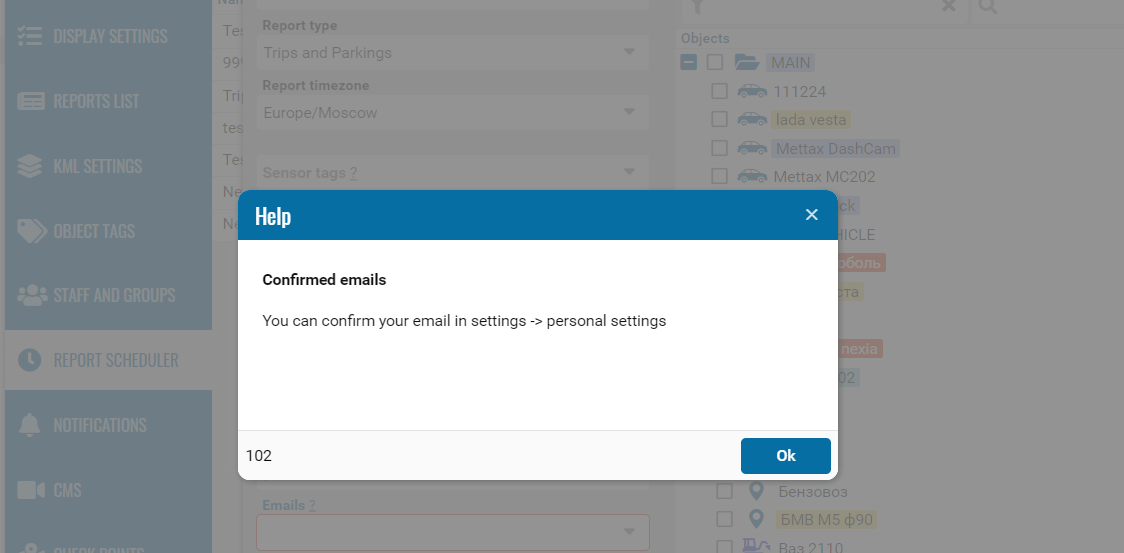
To use the Report scheduler, confirm your email address on the Privacy tab.
Creating a schedule
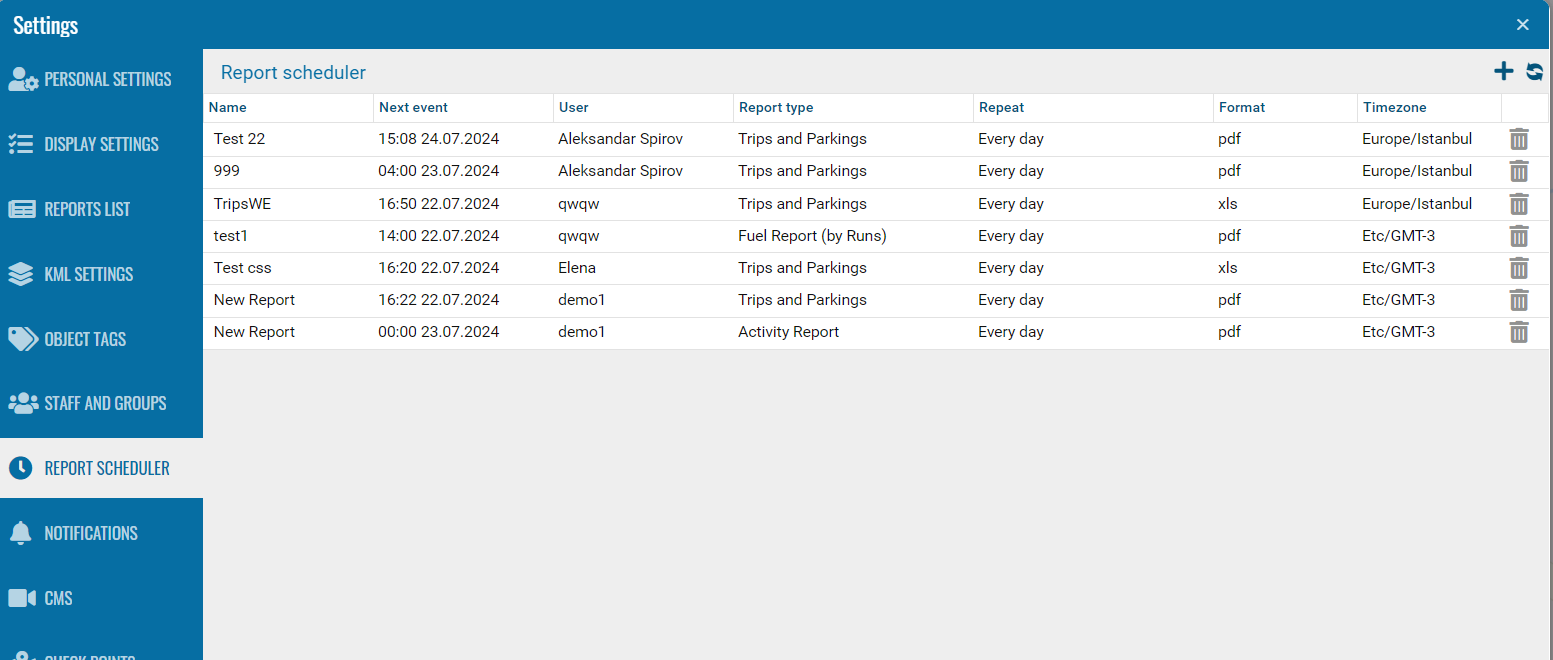
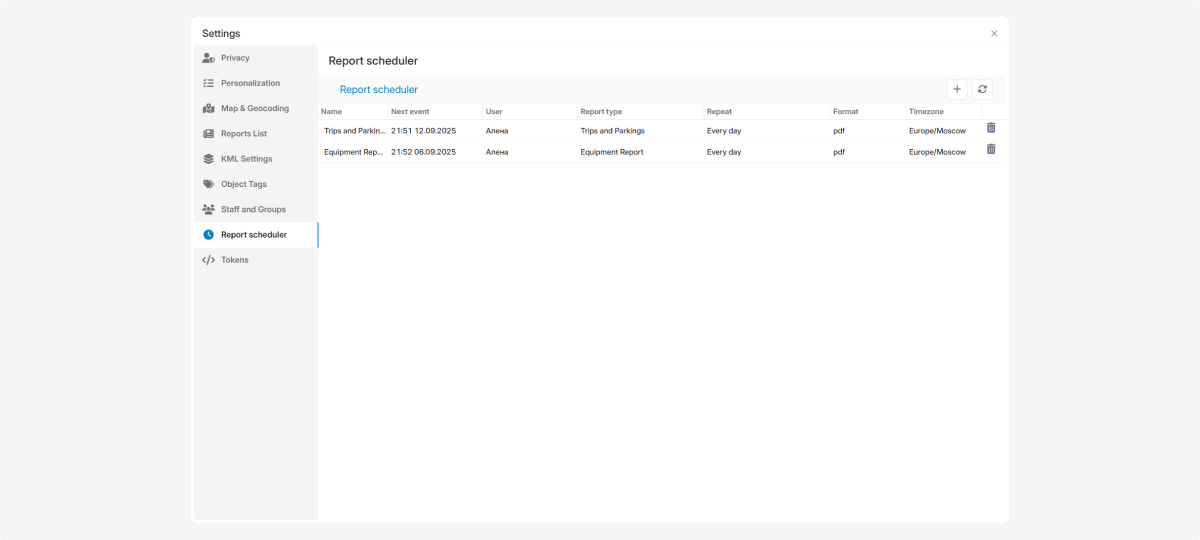
1. Open Account settings and select Report scheduler
2. Click the 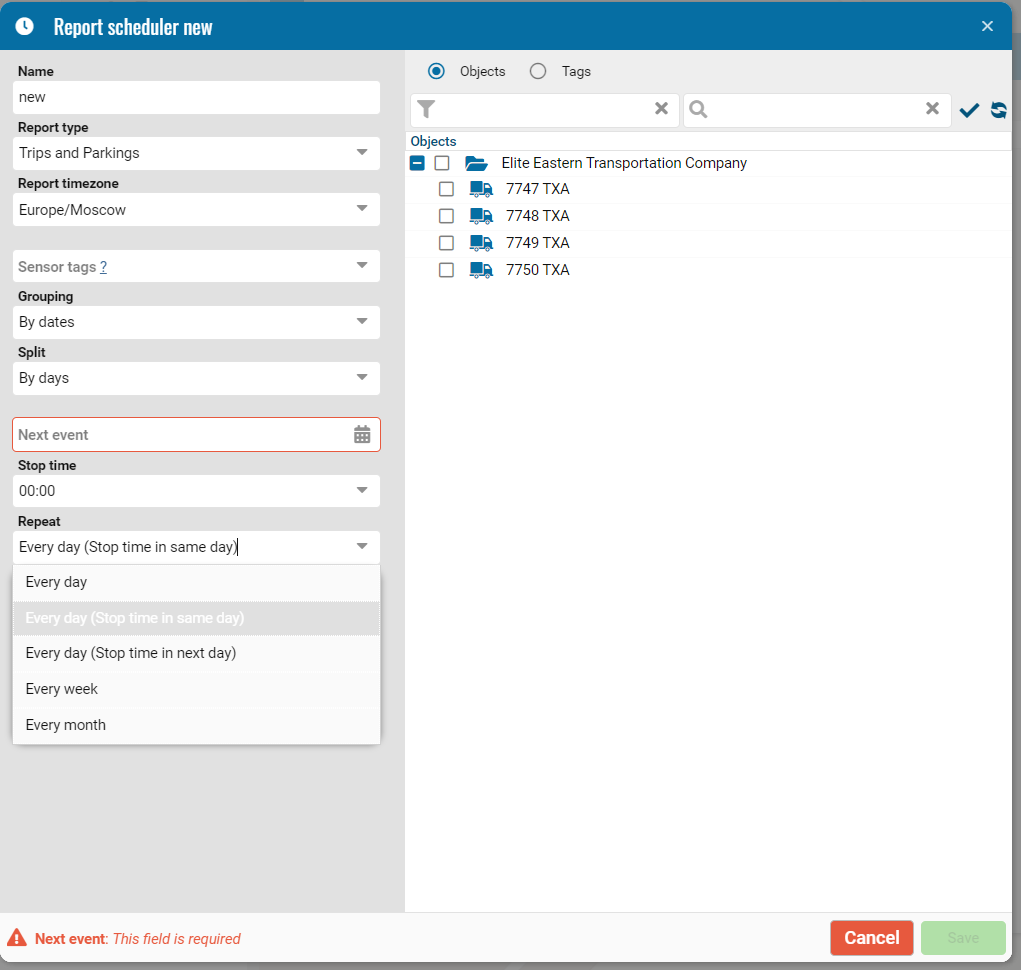 button
button3. In the window that opens, configure the report parameters, report data period, and generation schedule
4. Select the objects or tags for which the report should be generated
5. Click Save
The schedule will appear in the Report scheduler. Reports will then be generated and sent at the specified frequency.
Report parameters
Complete the following fields in the Report parameters section:
-
Name — enter a descriptive name for the schedule. This will help you distinguish it from other automatic report schedules
-
Language — select the language in which the report should be generated
-
Report type — select the required report from the list. Only report types that you have permission to access are displayed. You can view the available reports in Reports list
-
Sensor tags — select the tags assigned to the sensors whose data should be included in the report. Sensor tags allow you to include data only from the required sensors. You can assign tags in the sensor settings. The availability of this field and its list of tags depend on the selected report type.
-
Grouping — specify how to group the report data, for example, by dates or by objects
-
Split — select how to divide the data within the report, for example, by days, by weeks, or without splitting
If you select a report type that supports maps, additional settings appear in the report scheduler. The available settings depend on the selected report:

-
Show maps — adds a static map showing the object’s route for the reporting period
-
Map Type — selects the map layer used in the report, such as OSM or Google Sat. The selected layer is used when Show maps is enabled
-
Show parkings — marks parking locations on the map with P icons. This option is available only when Show maps is enabled
-
Show odometer — adds odometer readings at the start and end of each trip to the table, if supported by the selected report

These settings are saved in the schedule and applied each time the report is generated automatically.
-
Report timezone — select the time zone used to determine the report data period and the time of events in the report
-
Format — select the report file format: PDF or Excel
-
Page size — select the page size, for example, A4
-
Orientation — select Portrait for a vertical layout or Landscape for a horizontal layout. For reports with many columns, select Landscape to fit the table across the page.
-
Emails — enter one or more email addresses to receive the report. To remove an address from the list, click the × next to it.
Make sure that your email address is confirmed on the Privacy tab. You cannot use the Report scheduler without a confirmed email address.
Recipients can unsubscribe from a specific report using the link in the email. If no recipients remain, PILOT pauses report generation
Report data period
In the Report data period section, configure the time interval for which data should be included in the report:
-
From — specify the report period start time
-
Previous day — select this checkbox if the start time should refer to the previous day
-
To — specify the report period end time
-
Period — select the duration of the reporting period
The Previous day option allows you to generate reports for intervals that start on one calendar day and end on the next.
For example, if you specify:
-
From — 20:00
-
Previous day — selected
-
To — 08:00
the report will include data from 20:00 on the previous day to 08:00 on the current day.
Generation schedule
In the Generation schedule section, specify when and how often the report should be generated:
-
Next generation — select the date and time when the report should next be generated and sent.
-
Generate — select how often the report should be generated:
-
Daily — the report is generated every day
-
Weekly — the report is generated once a week
-
Monthly — the report is generated once a month
-
Selected days — the report is generated only on the selected days of the week
The Data period displayed below the schedule settings is the automatically calculated interval for which data will be included in the next report.
Selecting objects or tags
On the right side of the window, select what the report should be generated for:
-
Objects — the report will be generated for the selected objects
-
Tags — the report will be generated for objects associated with the selected tags
You can select individual objects or an entire object group. Use the search field and filters to find the required objects.

Saving the schedule
Review the schedule settings and click Save.
The schedule will appear in the Report scheduler. Reports will then be generated automatically and sent to the specified recipients.

Unsubscribing from a scheduled report
You can stop receiving a scheduled report using the link in the email. You do not need to sign in to PILOT to unsubscribe.
Unsubscribing applies only to the report and email address shown on the confirmation page. You will continue to receive other scheduled reports. Other recipients will continue to receive this report.
How to unsubscribe
1. Open the scheduled report email.
2. Click Unsubscribe from this scheduled report
3. On the page that opens, check the report name and email address
4. Click Unsubscribe
PILOT will remove the email address from the recipient list and display a confirmation message with the report name.
If the last recipient unsubscribes, PILOT pauses report generation. The schedule is retained and continues to update. When a new recipient is added, delivery resumes for the current reporting period.
Watch the video to learn how to automatically schedule and send reports via email.
|