Settings
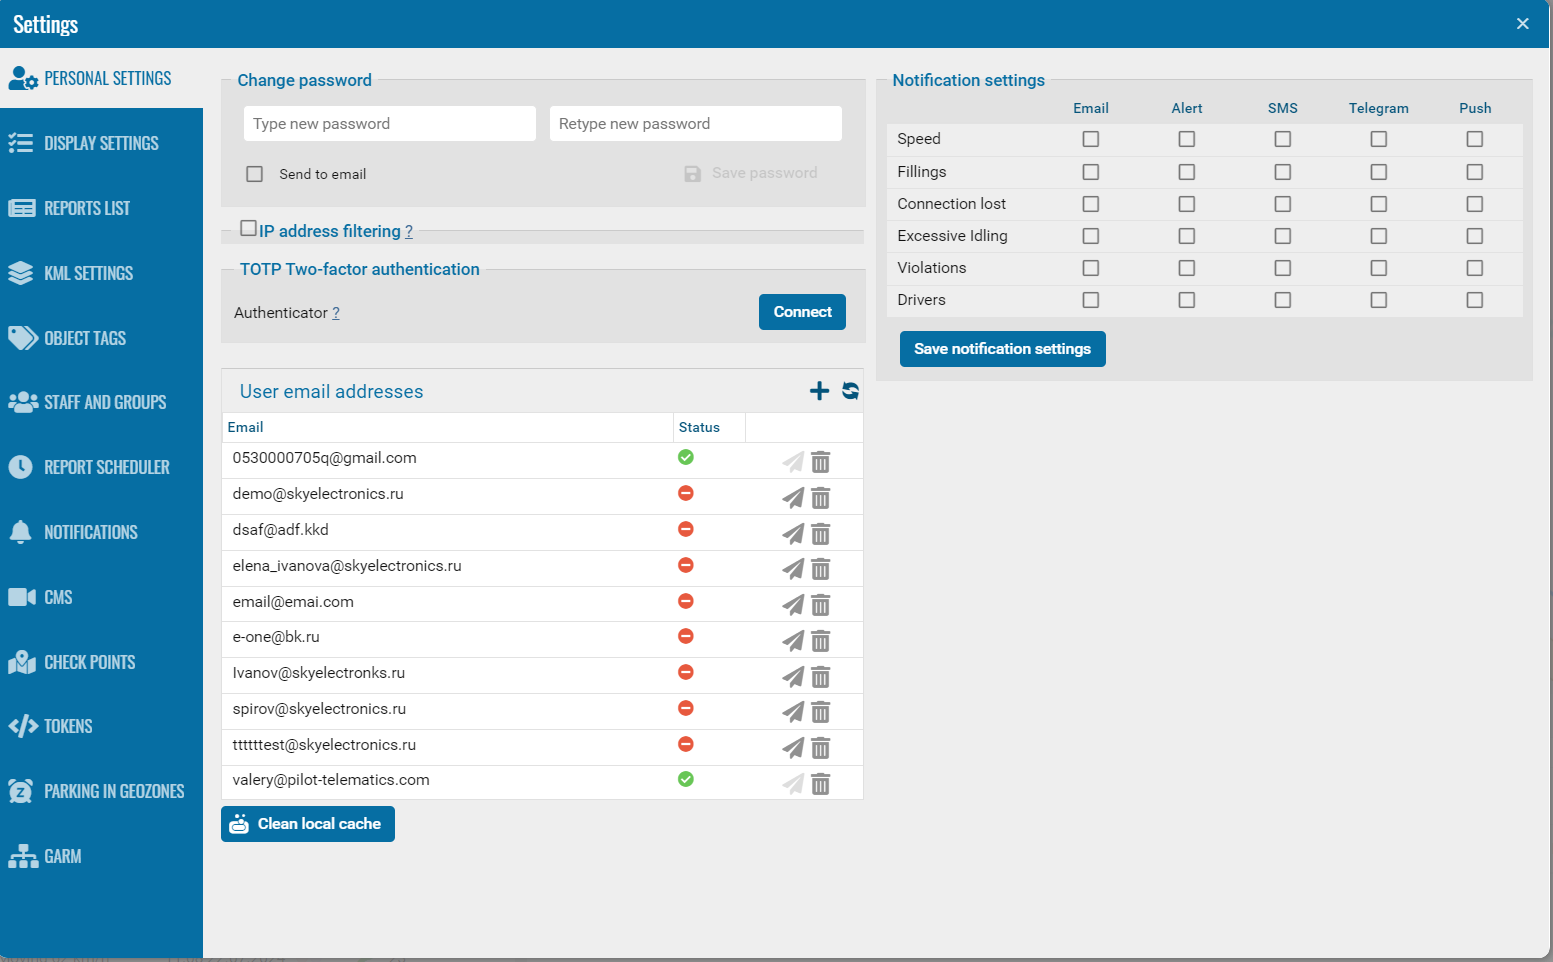
The Settings tab contains the user’s account details, login settings, and the period of historical data available to them.

Main settings
Enter the user details. Required fields are outlined in red:
-
Login — the name the user enters when signing in to PILOT
-
Password — the password used to sign in. To create or change it, click the edit icon
 in the field
 -
Name — the employee’s name or another descriptive name for the account
-
Type — determines the user’s access level:
-
Administrator — can add users and objects, work with drivers, and manage access rights for users associated with the account
-
User — can work with the objects and features assigned to them. Their available capabilities are determined by their access rights
-
Information — additional information about the employee. Complete this field if necessary
-
Email — the user’s email address. Click the send icon
 in the field to email the user a link for signing in to PILOT
 -
Mobile — the employee’s contact phone number
Additional settings
-
The number of possible login attempts — specify the permitted number of login attempts. This setting limits repeated attempts to sign in with incorrect credentials. A value of 0 disables attempt counting.
-
0 — use the default period of 365 days
-
A positive number — retain history for the specified number of days
-
−1 — do not retain history
The maximum period is determined by the Users default parameters account configuration. This configuration is added by a user with access to the admin panel. To increase the available period, contact your administrator or technical support.

For example, setting max_days_available_history to 730 gives users associated with the account access to two years of historical data. After the configuration is applied, the The number of days available history field is populated with the configured number of days.

After completing the fields, click Save. Then use the other tabs in the user card to assign objects, tags, and the required access rights.